using System.Collections;
using System.Collections.Generic;
using TMPro;
using UnityEngine;
using UnityEngine.UI;
public class ActiveCard : MonoBehaviour
{
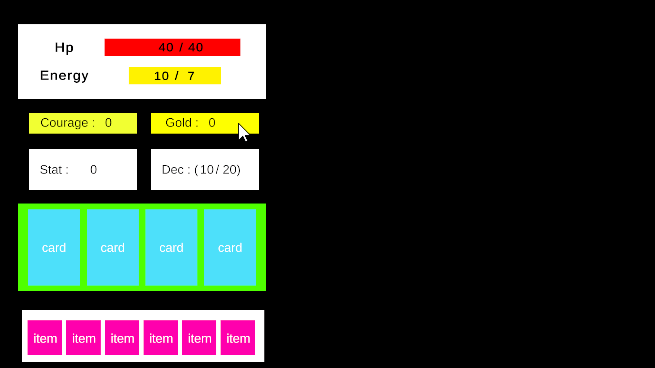
public GameObject cardPrefab; // 인스펙터에서 프리팹을 할당하세요
public TMP_Text valueTextPrefab; // 인스펙터에서 텍스트 프리팹을 할당하세요
public Transform parentTransform; // 인스펙터에서 부모 변환을 할당하세요
void Start()
{
PlayerManager.Instance.LoadPlayerCardData();
PlayerManager.Instance.LoadPlayerCardInfo();
PlayerManager.Instance.LoadPlayerCardInfoListData();
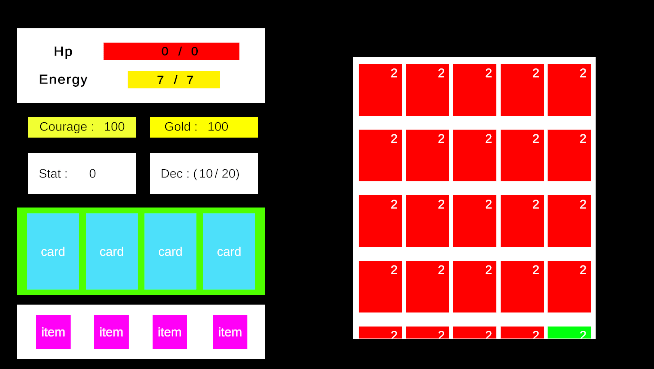
foreach (var playerActiveCardInfo in PlayerManager.Instance.dicPlayerCardInfoList)
{
Debug.Log("버튼이 눌림");
// 프리팹에서 새 카드 오브젝트를 복제합니다.
GameObject newCard = Instantiate(cardPrefab, parentTransform);
// 카드의 자식 오브젝트로서 새로운 TMP_Text를 생성합니다.
TMP_Text valueText = Instantiate(valueTextPrefab, newCard.transform);
// 값을 설정합니다.
valueText.text = playerActiveCardInfo.Value.value.ToString();
Debug.Log(valueText.text);
}
Debug.Log("데이터 개수: " + PlayerManager.Instance.dicPlayerCardInfoList.Count);
}
}
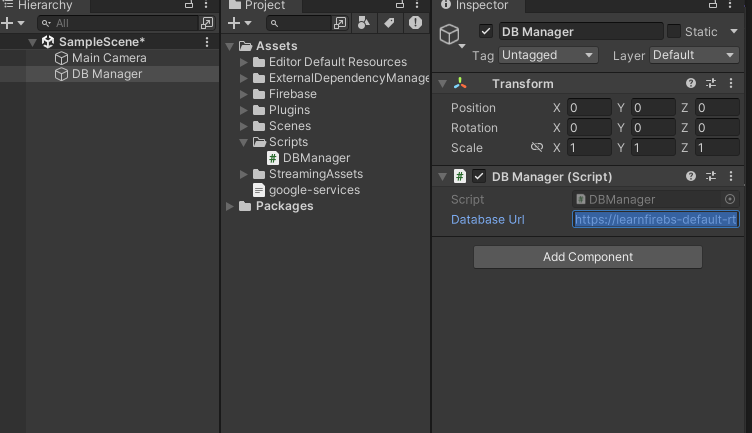
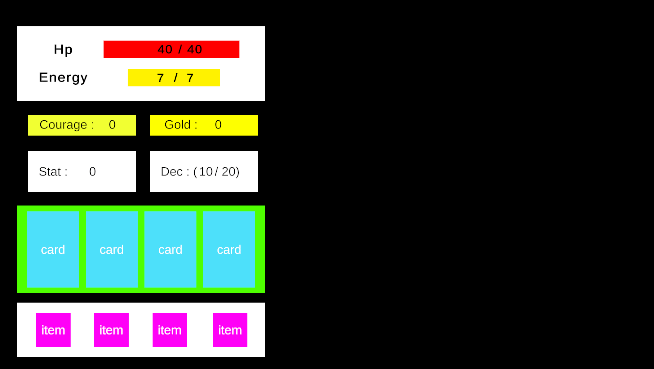
데이터 불러오기
using System.Collections;
using System.Collections.Generic;
using TMPro;
using UnityEngine;
using UnityEngine.UI;

public class ActiveCard : MonoBehaviour
{
    public TMP_Text valueTextPrefab;
    public TMP_Text cardNamePrefab;
    public TMP_Text cardInfoPrefab;
}
using System.Collections;
using System.Collections.Generic;
using UnityEngine;
using UnityEngine.UI;
public class ActiveCardDecBtn : MonoBehaviour
{
public Button btn;
public GameObject ActiveCardInventory;
public GameObject cardPrefab;
public Transform parentTransform;
void Start()
{
btn.onClick.AddListener(() =>
{
ActiveCardInventory.SetActive(true);
});
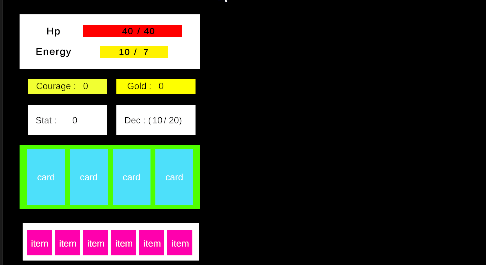
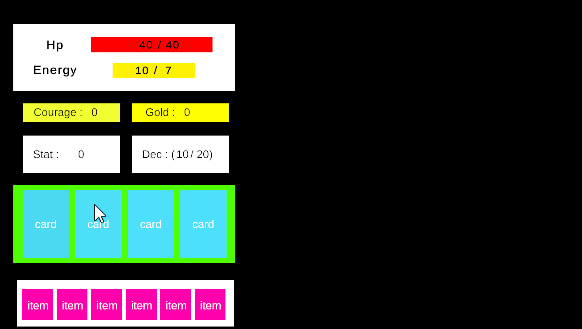
List<PlayerCardInfo> card = new List<PlayerCardInfo>(PlayerManager.Instance.dicPlayerCardInfo.Values);
for (int i = 0; i < PlayerManager.Instance.dicPlayerCardInfoList.Count; i++)
{
Debug.Log("버튼이 눌림");
// 프리팹에서 새 카드 오브젝트를 생성
GameObject Card = Instantiate(cardPrefab, parentTransform);
ActiveCard newCard = Card.GetComponent<ActiveCard>();
// 값을 설정
newCard.valueTextPrefab.text = card[i].value.ToString();
newCard.cardNamePrefab.text = card[i].card_name;
newCard.cardInfoPrefab.text = PlayerManager.Instance.dicPlayerCardDatas[card[i].card_original_id].desc;
}
}
void Update()
{
}
}'산대특' 카테고리의 다른 글
| [SSG] 최종프로젝트 프로토타입 -행동카드 클릭 이벤트 수정 (0) | 2024.05.13 |
|---|---|
| [SSG] 최종프로젝트 프로토타입 - Instantiate Data Image 중복 삭제 (0) | 2024.05.10 |
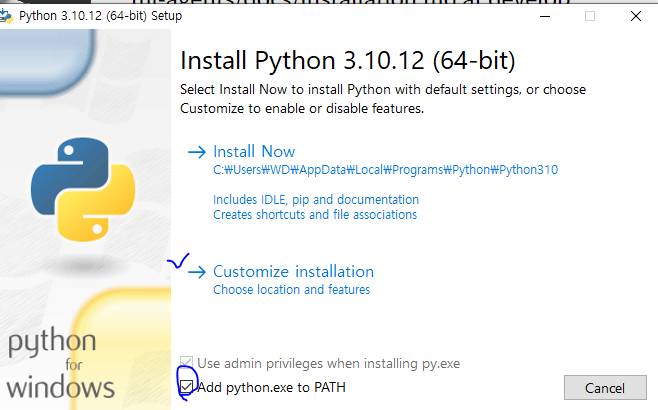
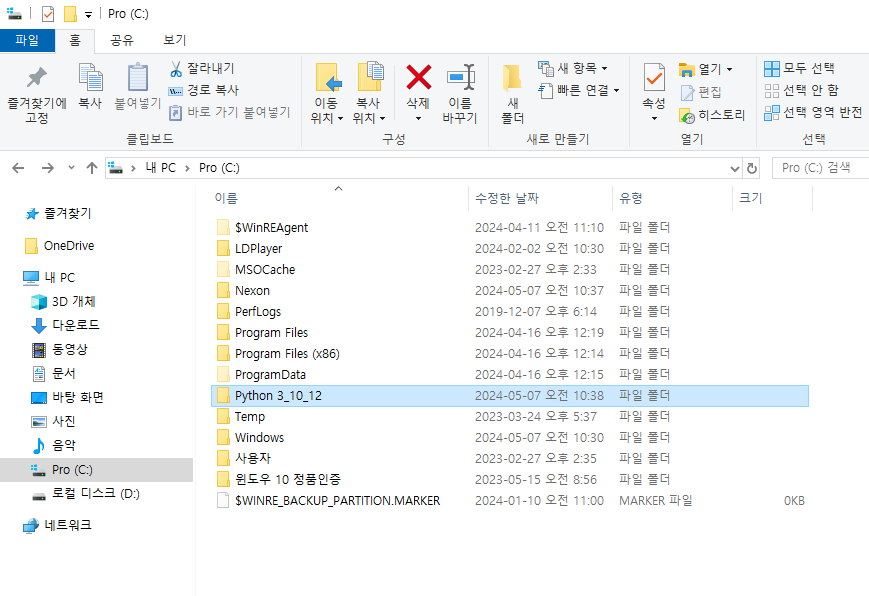
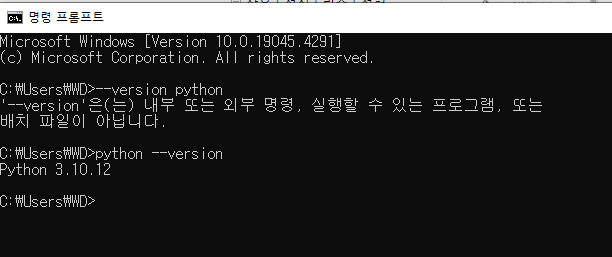
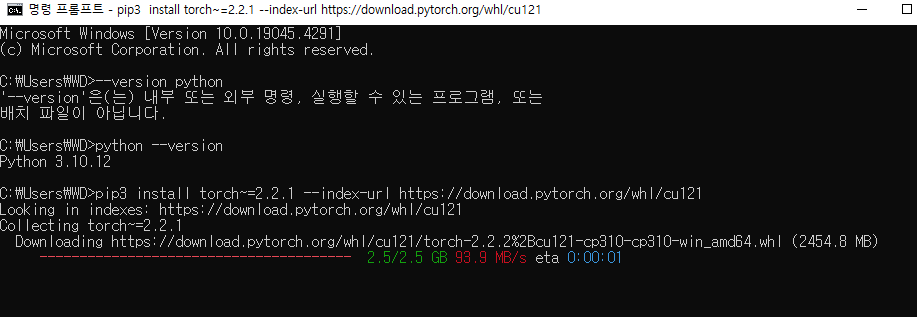
| Download Python (0) | 2024.05.08 |
| [SSG] 최종프로젝트 프로토타입 - Instantiate in parent place (0) | 2024.05.02 |
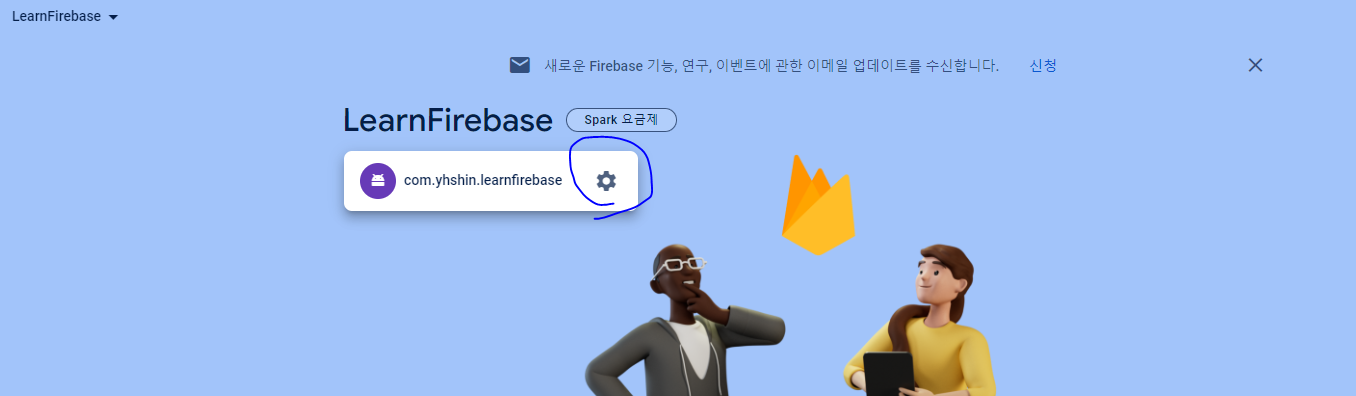
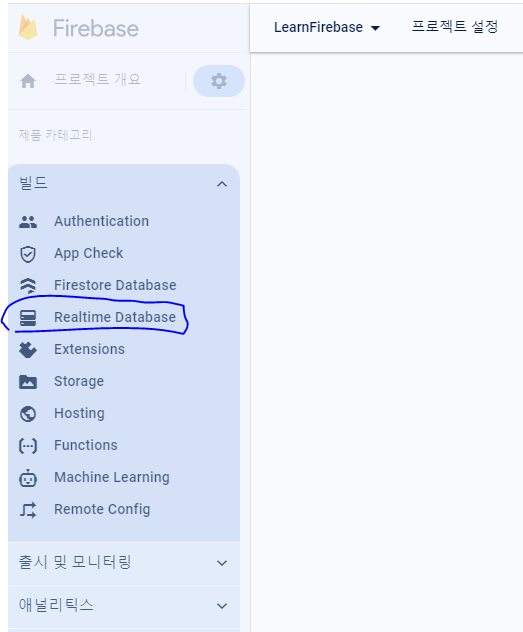
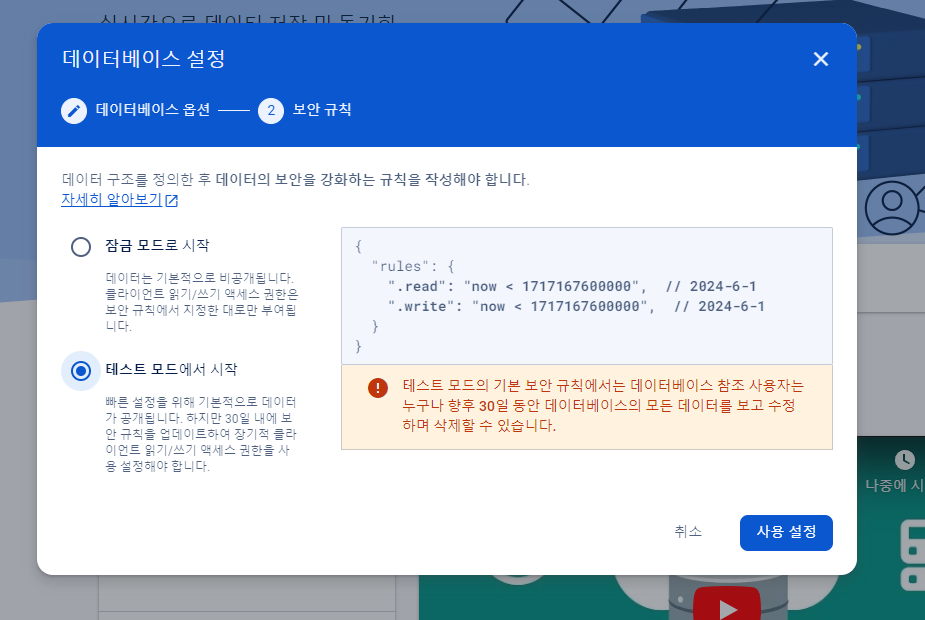
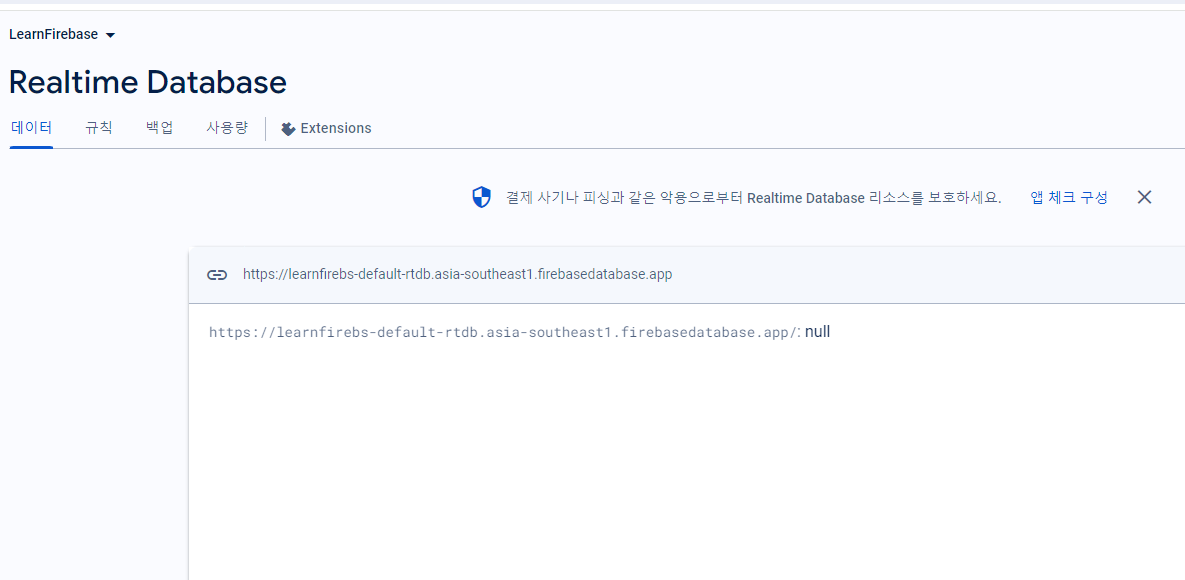
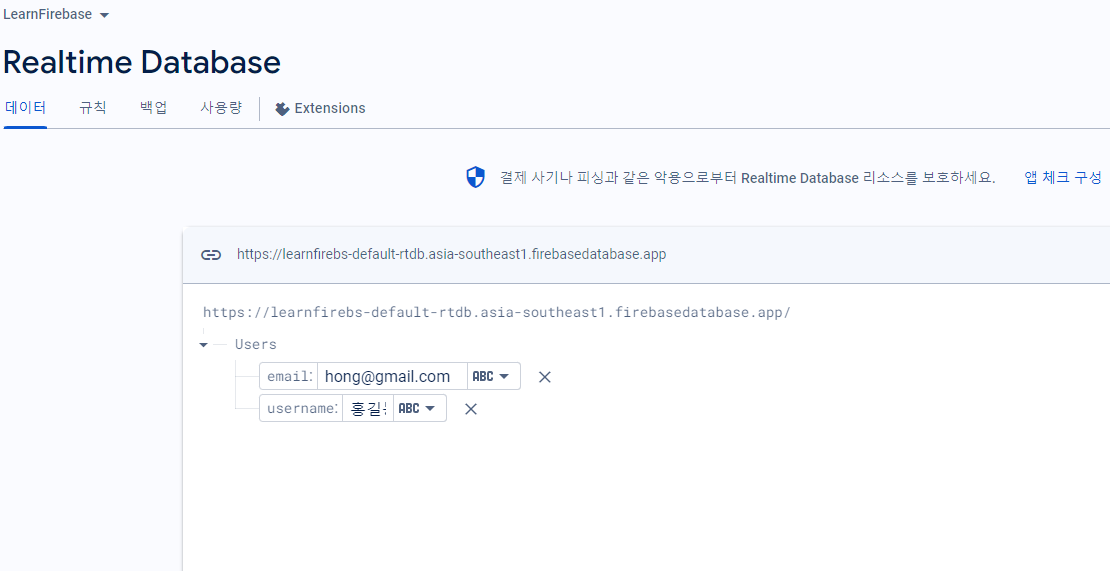
| Learn Firebase (0) | 2024.05.02 |