상속이란?
다른 클래스로부터 코드를 물려받는 것
상속의 대상 : 클래스의 멤버(필드, 메소드, 프로퍼티 등)
새로 선언하는 클래스 이름 뒤에 클론( : ) 과 기반 클래스의 이름을 표기하여 상속
물려주는 클래스 : 기반/부모 클래스, 물려받는 클래스 : 파생/자식 클래스
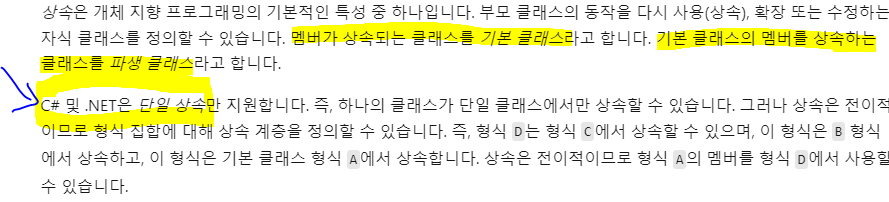
하나의 클래스가 하나의 상속만 되지만, 전이적으로 여러개를 이어서 사용 가능
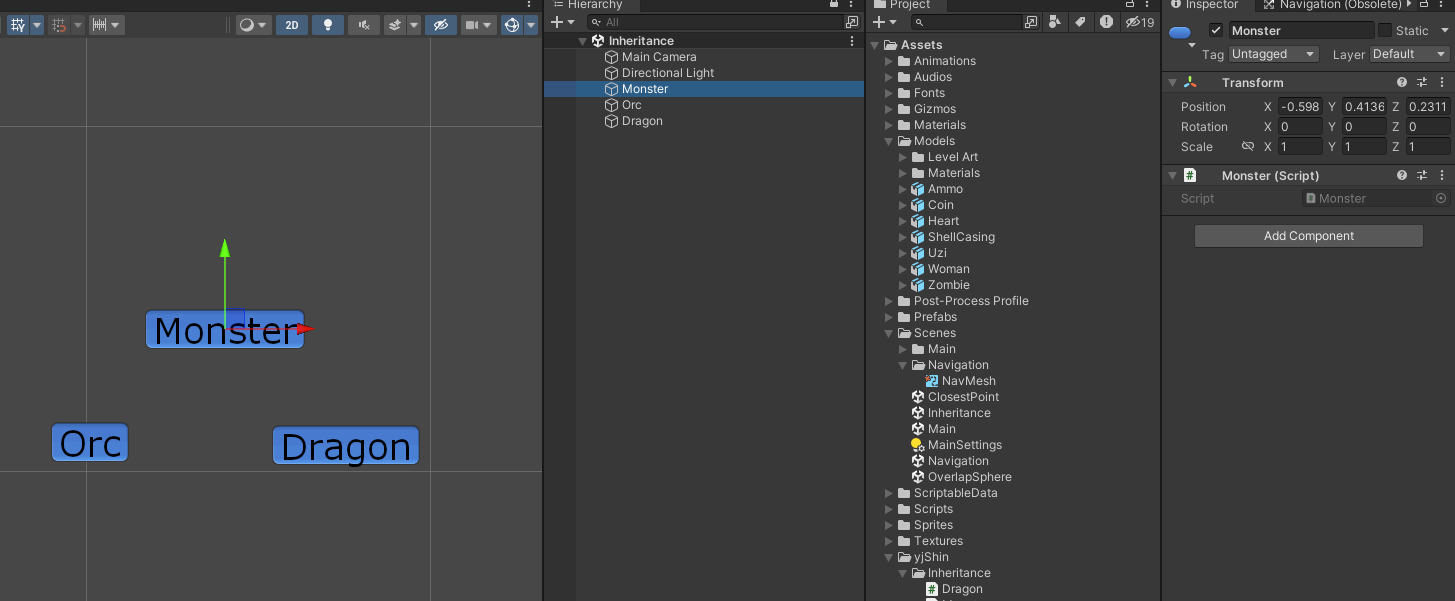
상속을 받을 때 클래스명 뒤에 MonoBehaviour를 지우고 상속받을 부모 클래스의 이름을 추가
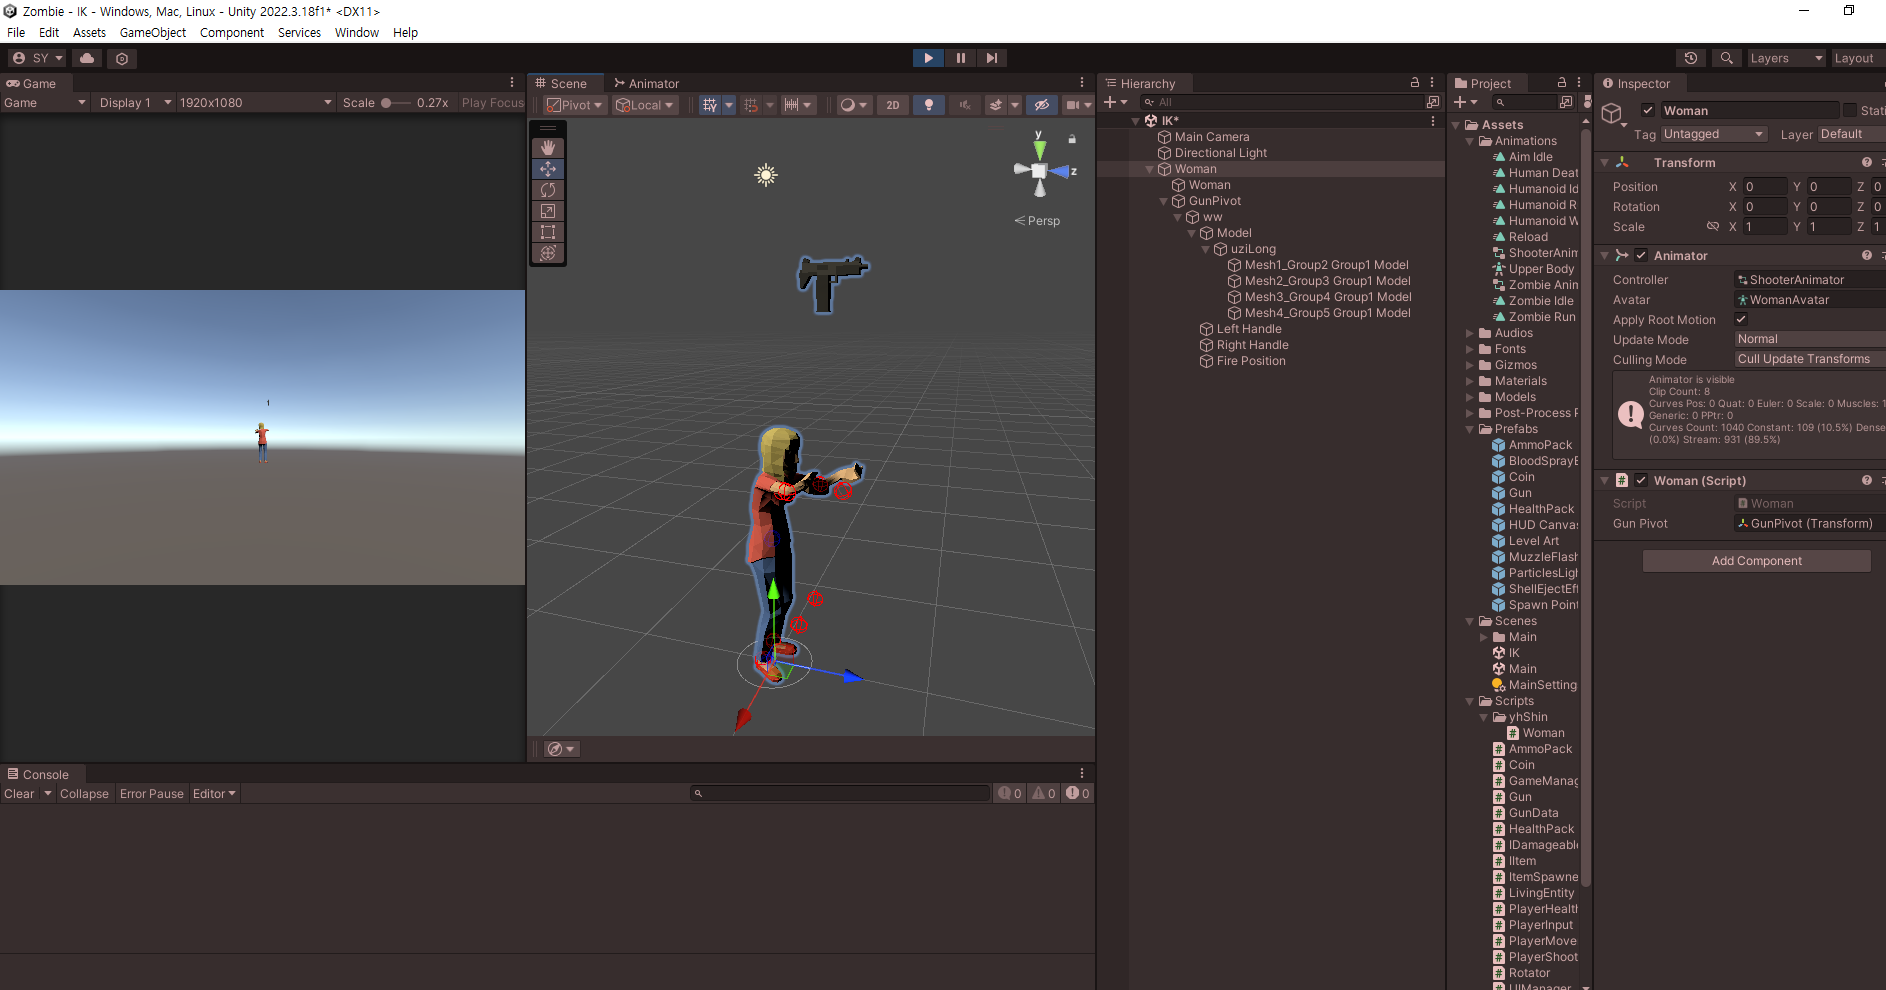
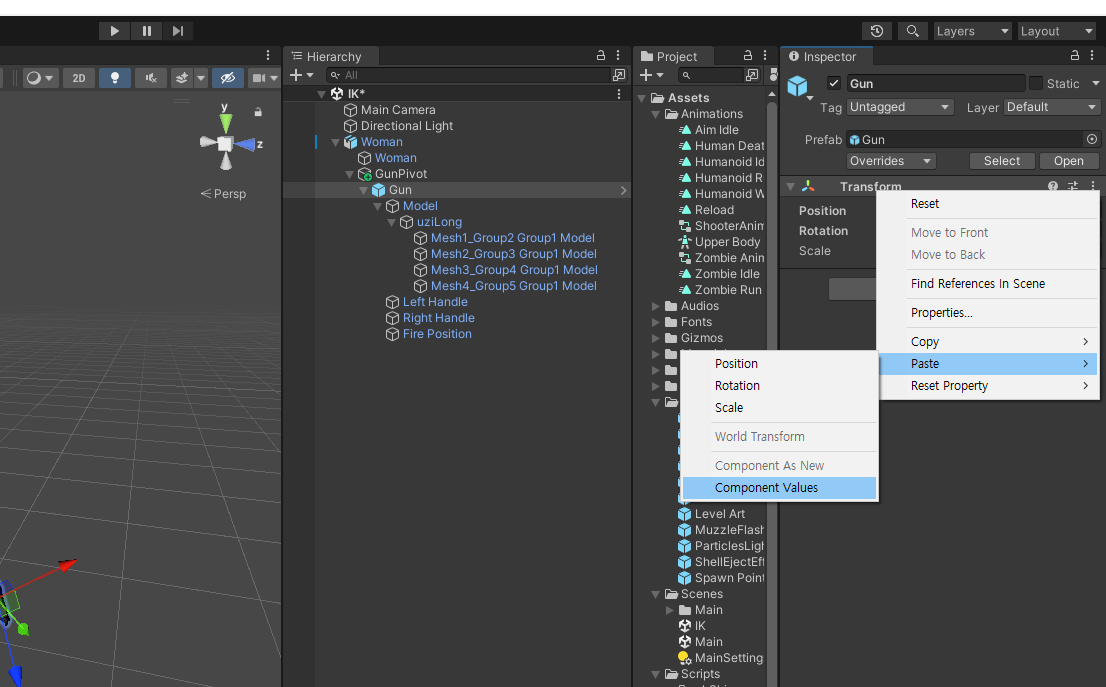
3개의 오브젝트에 각각의 스크립트를 부착하였다.
using System.Collections;
using System.Collections.Generic;
using UnityEngine;

public class Monster : MonoBehaviour
{
    public void Attack()
    {
        Debug.Log("공격");
    }
}
using System.Collections;
using System.Collections.Generic;
using UnityEngine;
public class Orc : Monster
{
public void WarCry()
{
Debug.Log("전투함성");
Attack();
}
//public void Start()
//{
// WarCry();
//}
}using System.Collections;
using System.Collections.Generic;
using UnityEngine;
public class Dragon : Orc
{
public void Fly()
{
Debug.Log("날기");
Attack();
WarCry();
}
private void Start()
{
Fly();
}
}실행을 해보면 이런식의 순서로 호출된다.
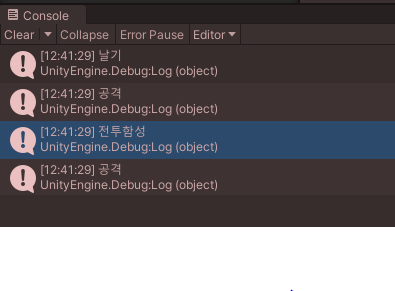
- Dragon 클래스의 Start 메서드가 호출
- Start 메서드 내에서 Fly 메서드가 호출
- Fly 메서드 내에서 Attack 메서드가 호출. 이때, Dragon 클래스가 Orc 클래스를 상속하고 있으므로, Orc 클래스의 Attack 메서드가 실행됩니다.
- Attack 메서드가 실행되고 "공격"이라는 메시지가 출력
- Fly 메서드 내에서 WarCry 메서드가 호출. WarCry 메서드는 Orc 클래스에 정의되어 있다.
- WarCry 메서드가 실행되고 "전투함성"이라는 메시지가 출력된다.
- WarCry 메서드 내에서 Attack 메서드가 호출되는데, Orc 클래스가 Monster 클래스를 상속하고 있으므로, Monster 클래스의 Attack 메서드가 실행됩니다.
- Attack 메서드가 실행되고 다시 "공격"이라는 메시지가 출력된다.
쉽게 말해 부모 자식 관계가 Monster -> Oak -> Dragon 순으로 되어있으므로
서로 상속되어 클래스를 가져와 사용할 수 있다.
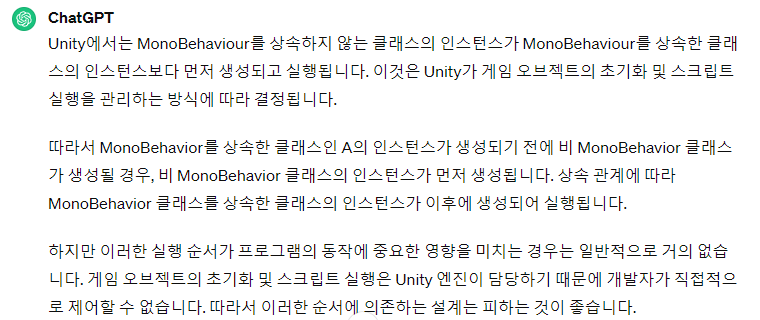
주의
Unity에서 MonoBehaviour를 상속한 클래스에서 Start 메서드를 사용할 때,
상속 관계에 있는 클래스의 Start 메서드 실행 순서는 보장되지 않는다.
이는 Unity 엔진이 각각의 MonoBehaviour를 포함한 오브젝트들에 대해 독립적으로 처리하기 때문이다.
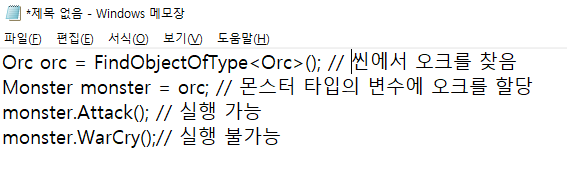
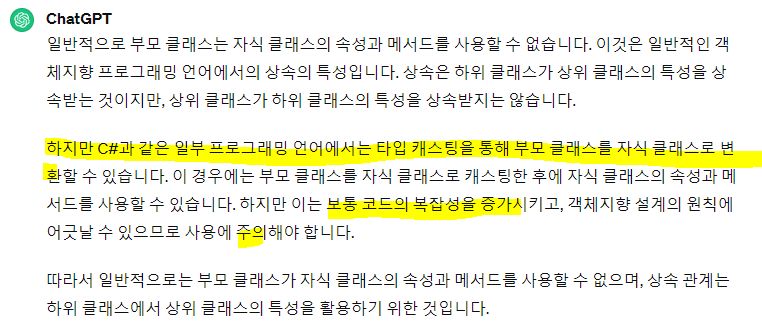
자식클래스는 부모클래스의 속성을 받아서 사용할 수 있지만
반대로 일반적으로 부모클래스는 자식클래스의 속성과 메소드를 사용할 수 없다.
다형성이란?
오류1. WarCry()를 하면 몬스터들의 대미지를 올려주려다 오류가 발생했다.
using System.Collections;
using System.Collections.Generic;
using UnityEngine;

public class Orc : Monster
{
    Monster[] monsters = GameObject.FindObjectsOfType<Monster>();
    public void WarCry()
    {
        Debug.Log("전투함성");

        //모든 몬스터 공격력 + 10 증가

        for(int i = 0; i < monsters.Length; i++)
        {
            monsters[i].damage += 10;
            Debug.LogFormat("추가된 공격력은 {0}", monsters[i].damage);
        }

    }
    private void Start()
    {
        for (int i = 0; i < monsters.Length; i++)
        {
            Debug.LogFormat("기본 공격력은 {0}", monsters[i].damage);
        }
        WarCry();
    }

}

이것에 대해 알아보니
Unity에서는 MonoBehaviour의 생성자나 인스턴스 필드 초기화자에서 FindObjectsOfType를 호출하는 것을
허용하지 않으므로 대신에 Awake나 Start 메서드에서 호출해야 한다.
따라서 Orc 클래스의 생성자에서 FindObjectsOfType를 호출하는 것은 허용되지 않는다.
Orc 클래스의 WarCry 메서드 내에서 호출하거나, Orc 클래스의 Awake나 Start 메서드에서 호출해야 한다고 한다.
오류2. 호출이 2번된다.
using System.Collections;
using System.Collections.Generic;
using UnityEngine;

public class Monster : MonoBehaviour
{
    public float damage = 10f;
    public void Attack()
    {
        Debug.Log("공격");
    }

}
using System.Collections;
using System.Collections.Generic;
using UnityEngine;
public class Orc : Monster
{
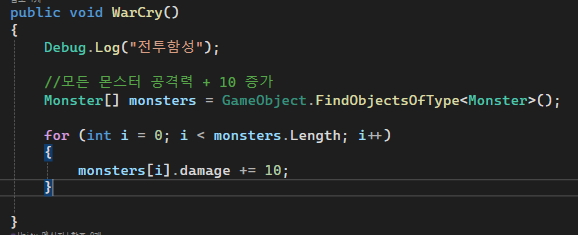
public void WarCry()
{
Debug.Log("전투함성");
//모든 몬스터 공격력 + 10 증가
Monster[] monsters = GameObject.FindObjectsOfType<Monster>();
for (int i = 0; i < monsters.Length; i++)
{
monsters[i].damage += 10;
Debug.LogFormat("추가된 공격력은 {0}", monsters[i].damage);
}
}
private void Start()
{
Monster[] monsters = GameObject.FindObjectsOfType<Monster>();
for (int i = 0; i < monsters.Length; i++)
{
Debug.LogFormat("기본 공격력은 {0}", monsters[i].damage);
}
WarCry();
}
}
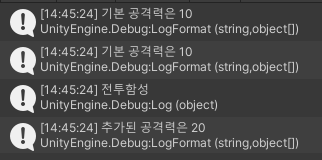
주어진 코드에서 Orc 클래스의 Start 메서드에서 WarCry 메서드를 호출하기 전에
FindObjectsOfType<Monster>()를 사용하여 몬스터 배열을 얻고 있다.
FindObjectsOfType<Monster>()는 현재 씬에 있는 모든 Monster 클래스의 인스턴스를 찾아 배열로 반환한다.
Start 메서드에서 이를 호출하여 몬스터 배열을 가져오고,
그 다음에 WarCry 메서드를 호출하는 것은 상황에 따라 문제가 될 수 있다.
만약 Start 메서드가 호출될 때 씬에 이미 생성된 몬스터가 있다면,
WarCry 메서드에서 다시 같은 몬스터 배열을 가져오게 되어 몬스터 배열이 중복되어 보일 수 있다.
따라서 Orc 클래스의 Start 메서드에서 WarCry 메서드를 호출하기 전에 몬스터 배열을 가져오는 부분을 제거하면
이런 문제를 해결할 수 있고, WarCry 메서드에서만 몬스터 배열을 가져오도록하면 된다.
여기서 자세히 보아야할 것은 다형성을 이용한 패턴이라는 것이다.
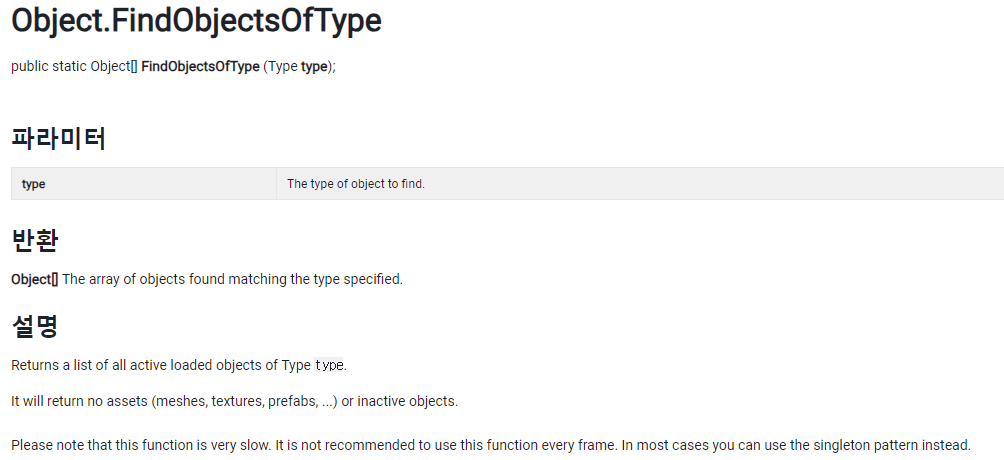
https://docs.unity3d.com/ScriptReference/Object.FindObjectsOfType.html
Unity - Scripting API: Object.FindObjectsOfType
This does not return assets (such as meshes, textures or prefabs), or objects with HideFlags.DontSave set. Objects attached to inactive GameObjects are only included if inactiveObjects is set to true. Use Resources.FindObjectsOfTypeAll to avoid these limit
docs.unity3d.com
명시한 타입의 모든 오브젝트를 찾아 배열로 반환, 씬에 있는 모든 Monster 타입의 오브젝트가 monsters배열에 저장됨
'낙서장 > C#' 카테고리의 다른 글
| [C#] 메서드 오버로딩 (0) | 2024.06.02 |
|---|---|
| virtual ,override, base (2) | 2024.03.08 |
| 흐름 제어 (1) | 2024.02.26 |
| 데이터를 가공하는 연산자 (0) | 2024.02.25 |
| 데이터를 담는 변수와 상수 (0) | 2024.02.22 |