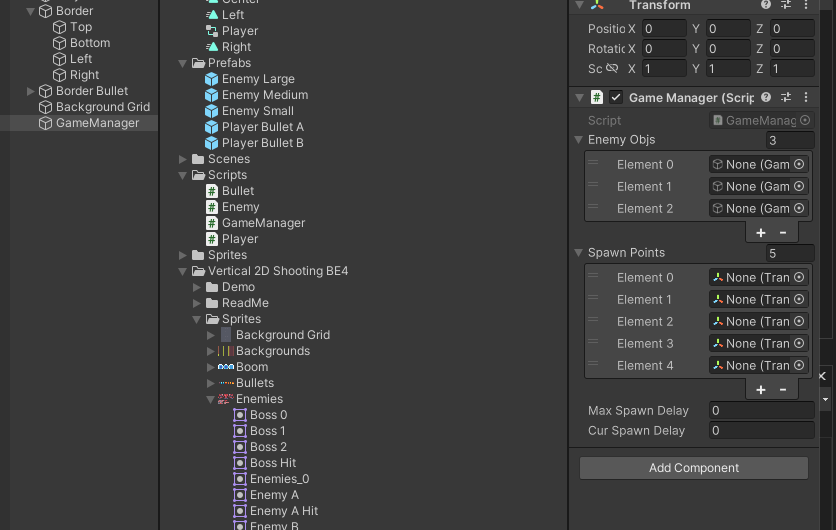
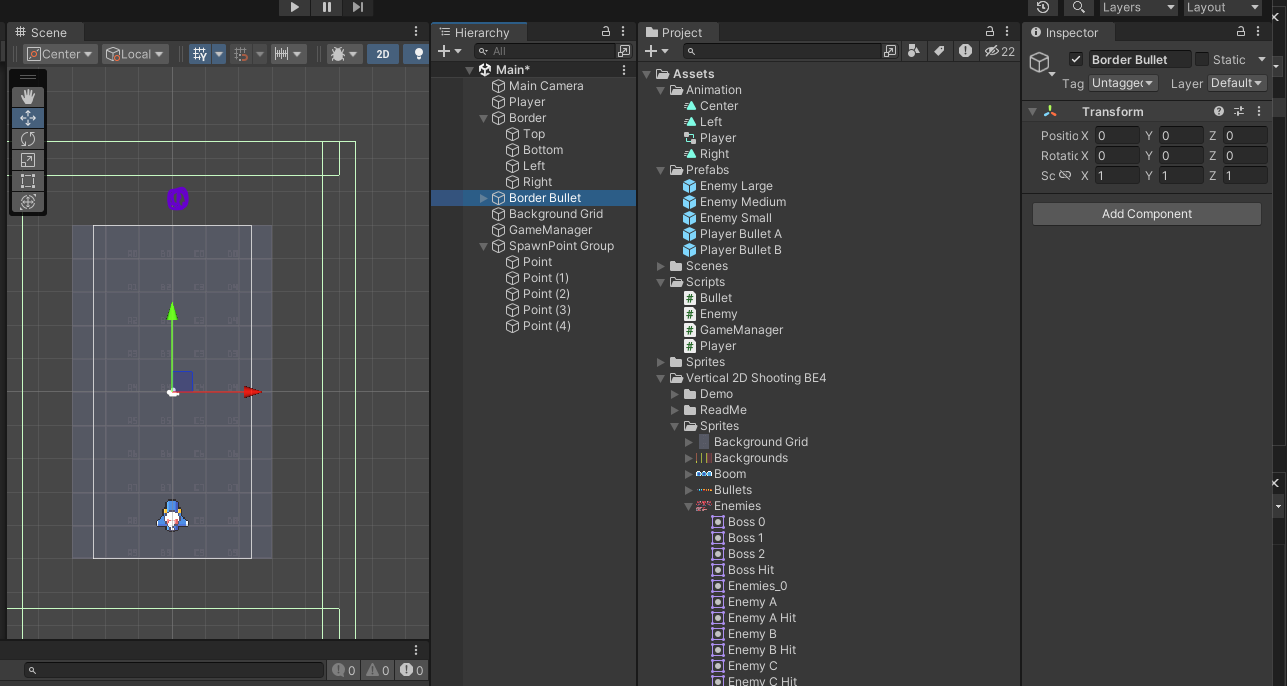
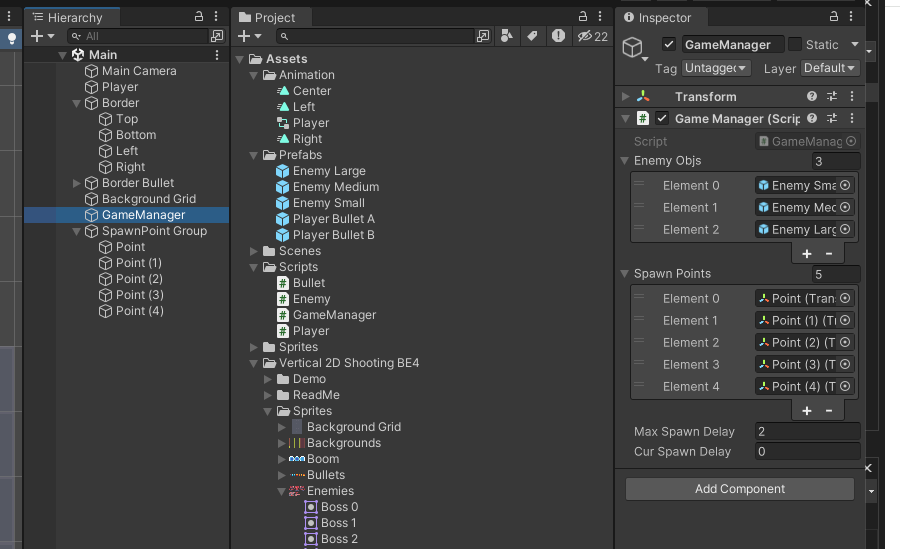
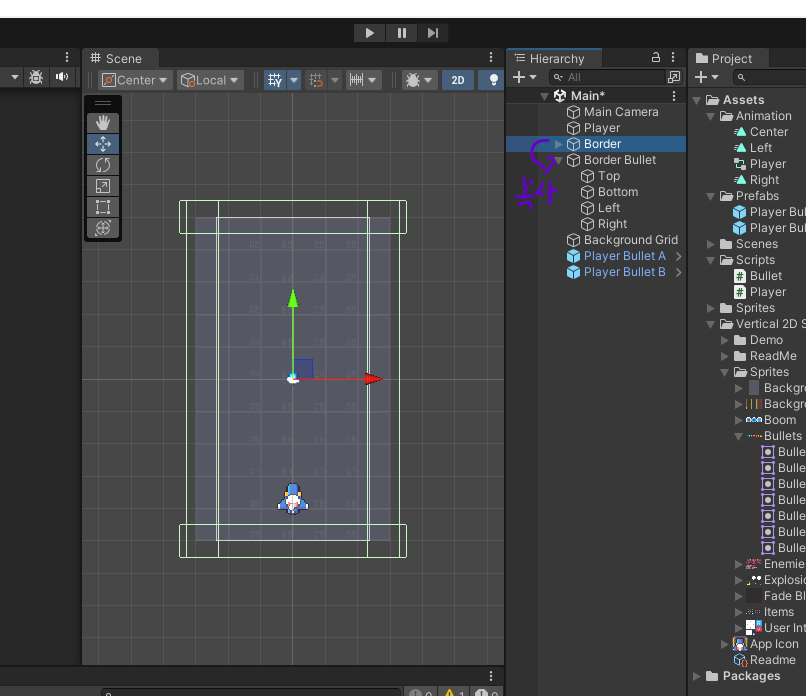
리스폰 포인트 추가
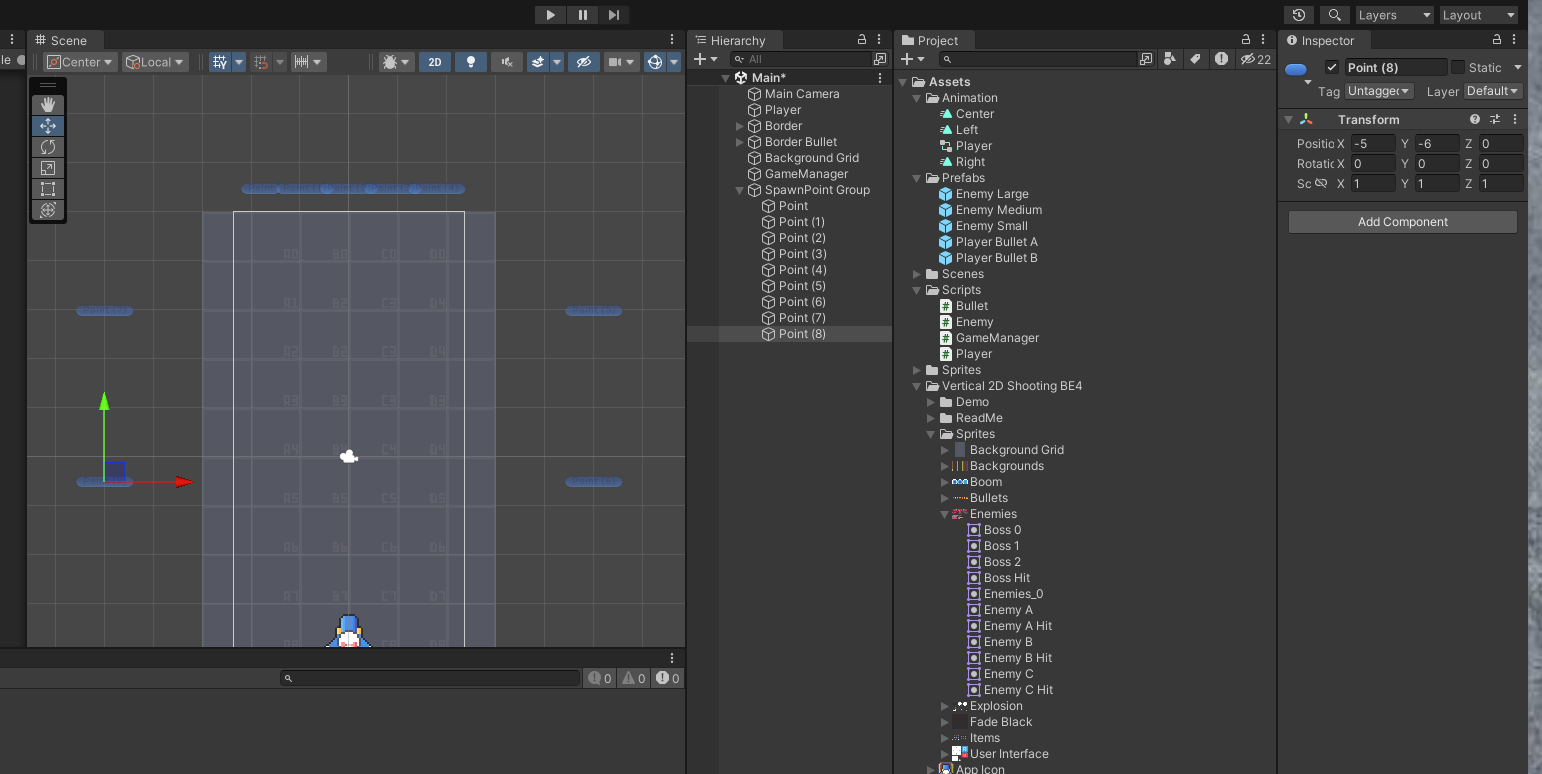
추가후 어싸인

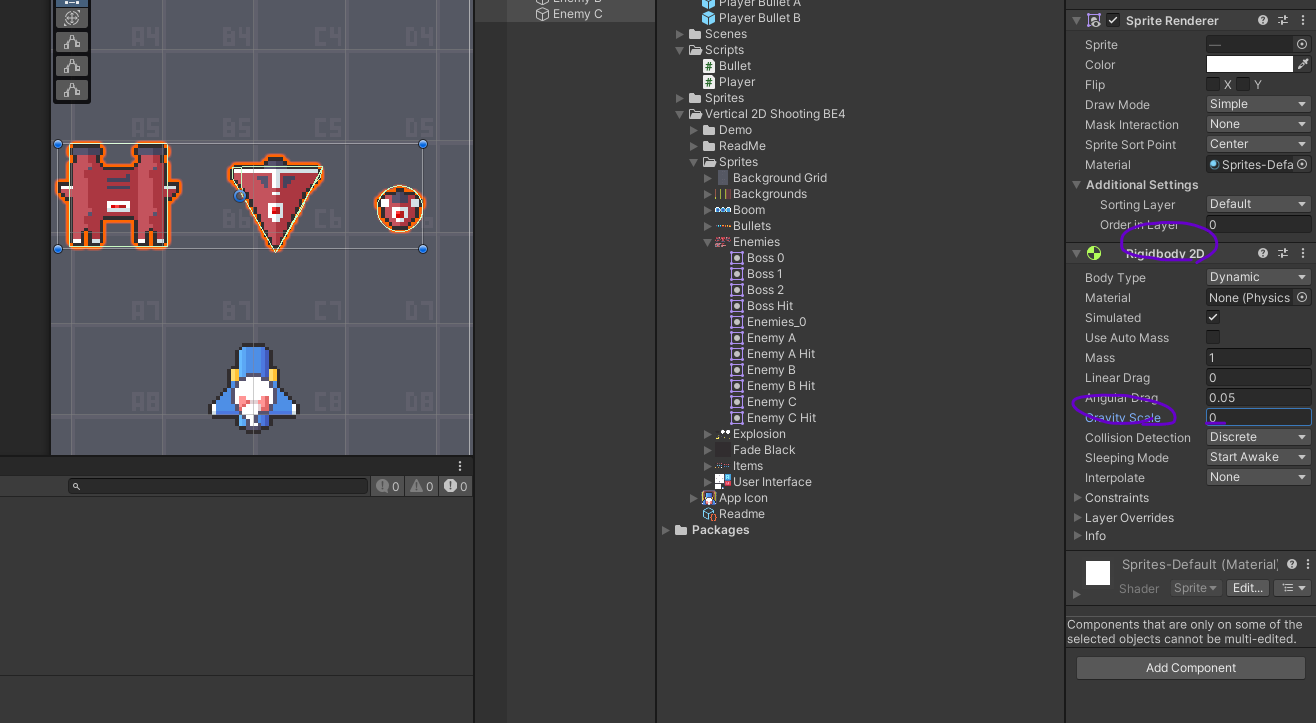
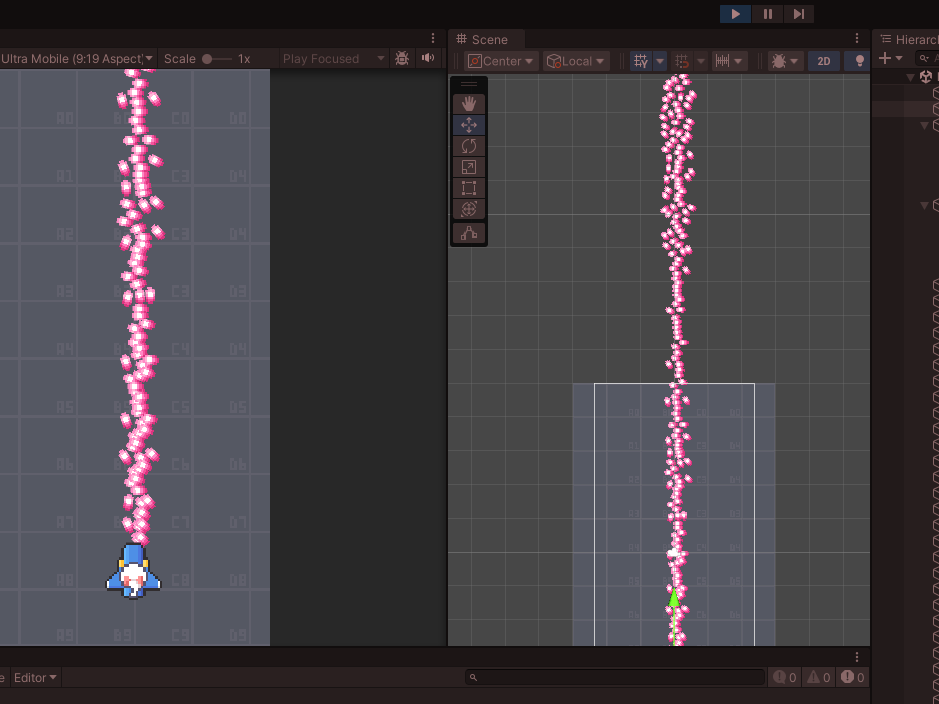
이제 적들이 옆에서도 등장하므로 위에서 아래로 떨어지는 부분 삭제

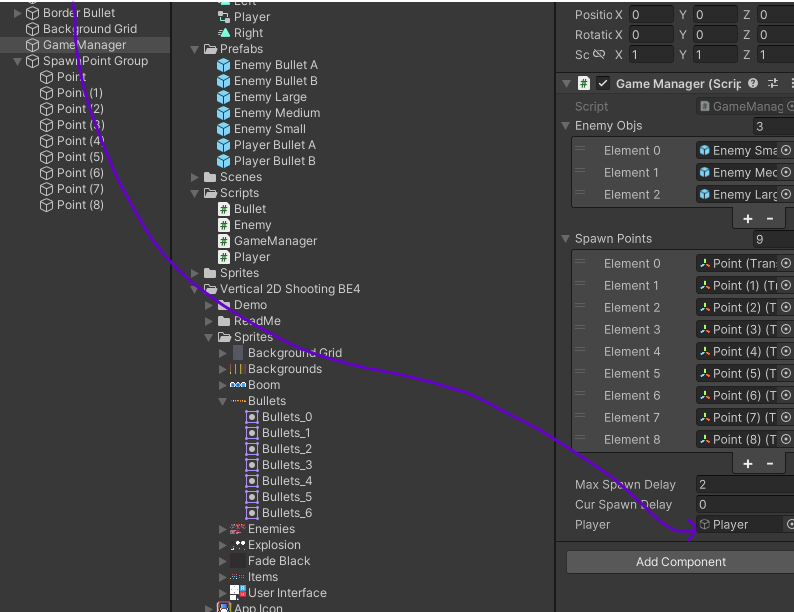
적 비행기 속도를 게임매니저가 관리할 것이다.
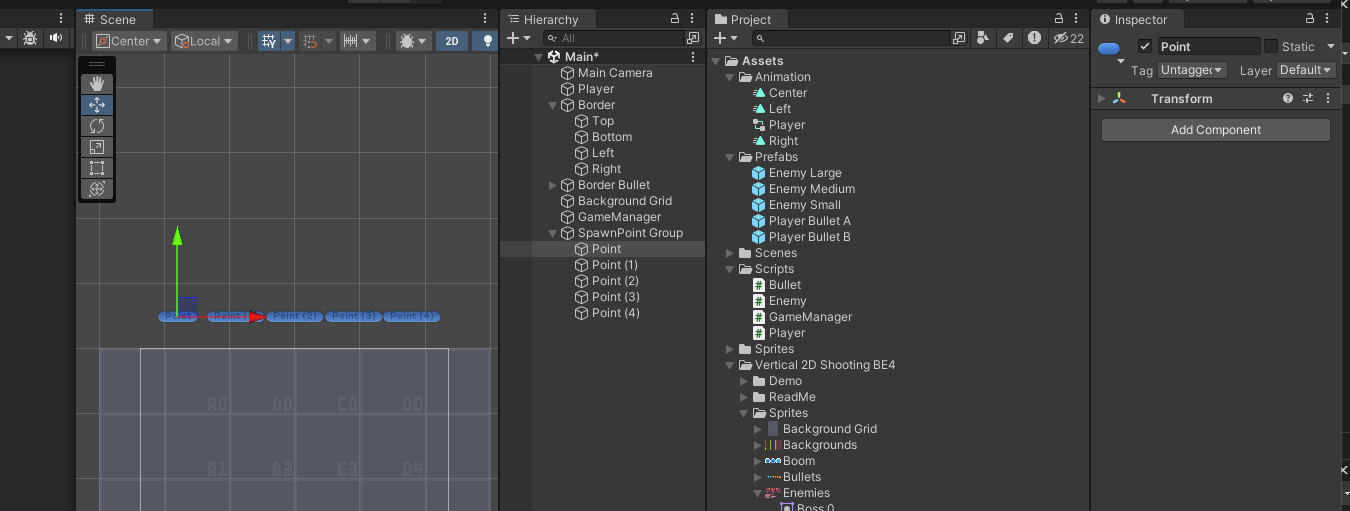
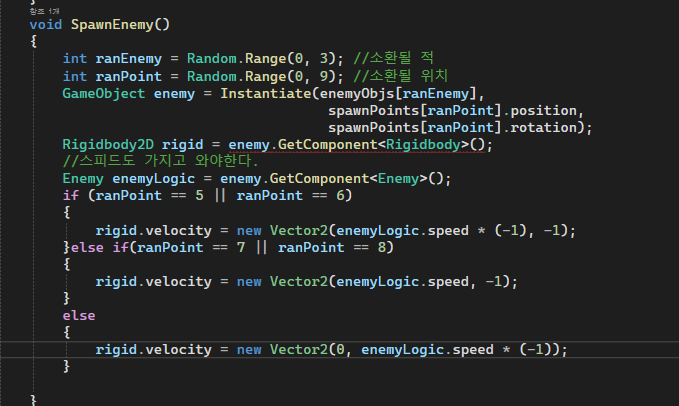
1, 2, 3, 4포인트는 x축은 변함이 없을 것이고 y축은 -1로 고정하여 아래로 내려오게
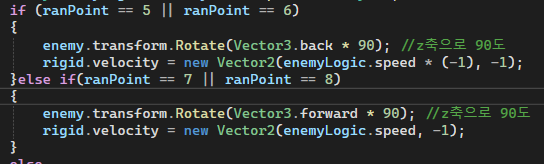
5, 6 포인트는 왼쪽(-1), y축은 -1
7, 8 포인트는 오른쪽(1), y축은 -1
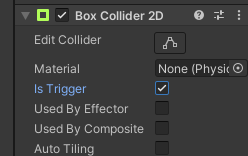
생성시 보더불릿에 닿으면 사라져서 생성되지 않으니 위치 재조정

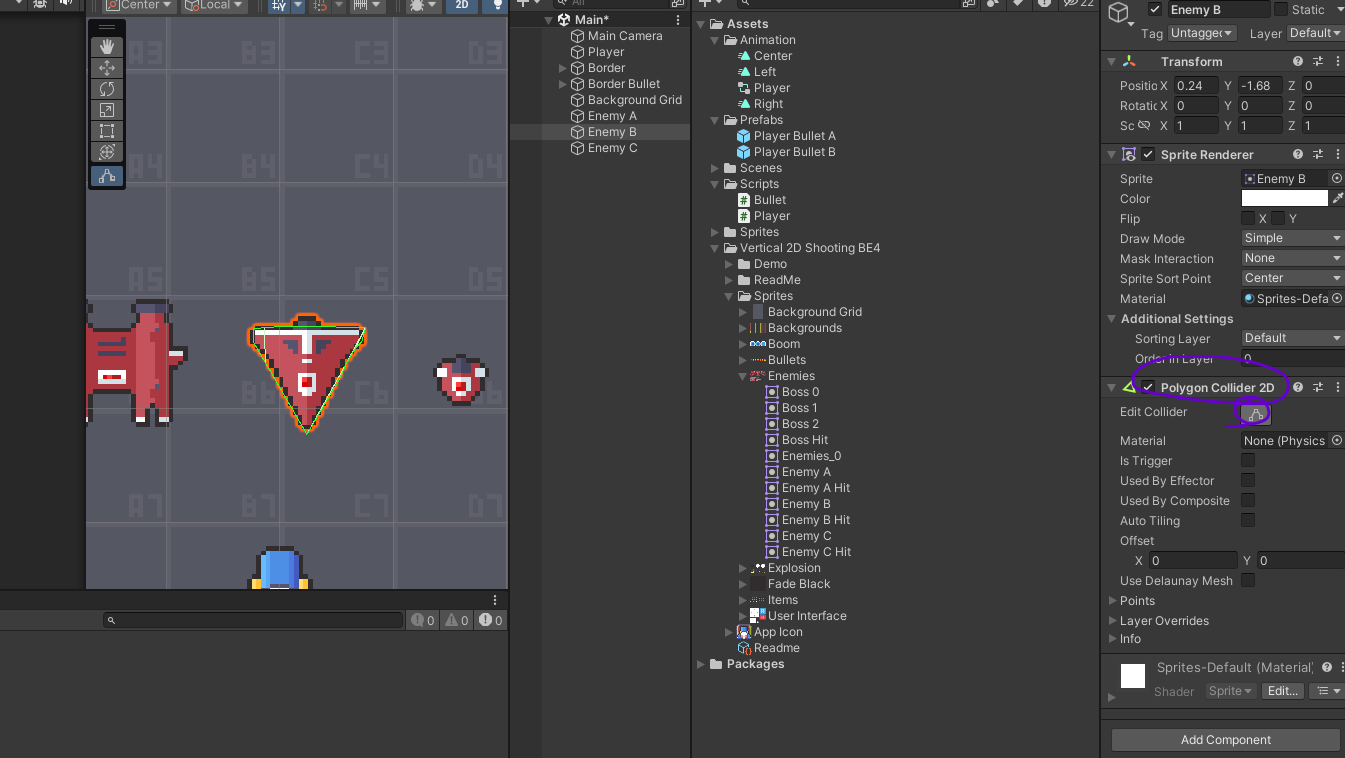
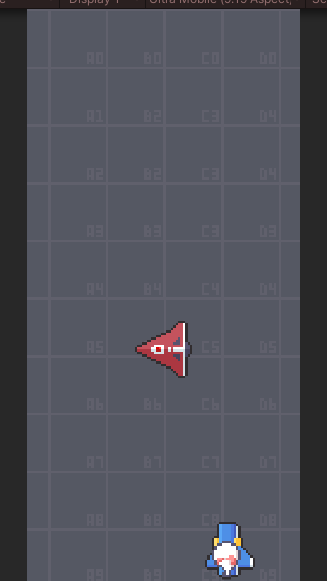
그림과 같이 옆모양으로 나오게 하기 위해 회전을 추가
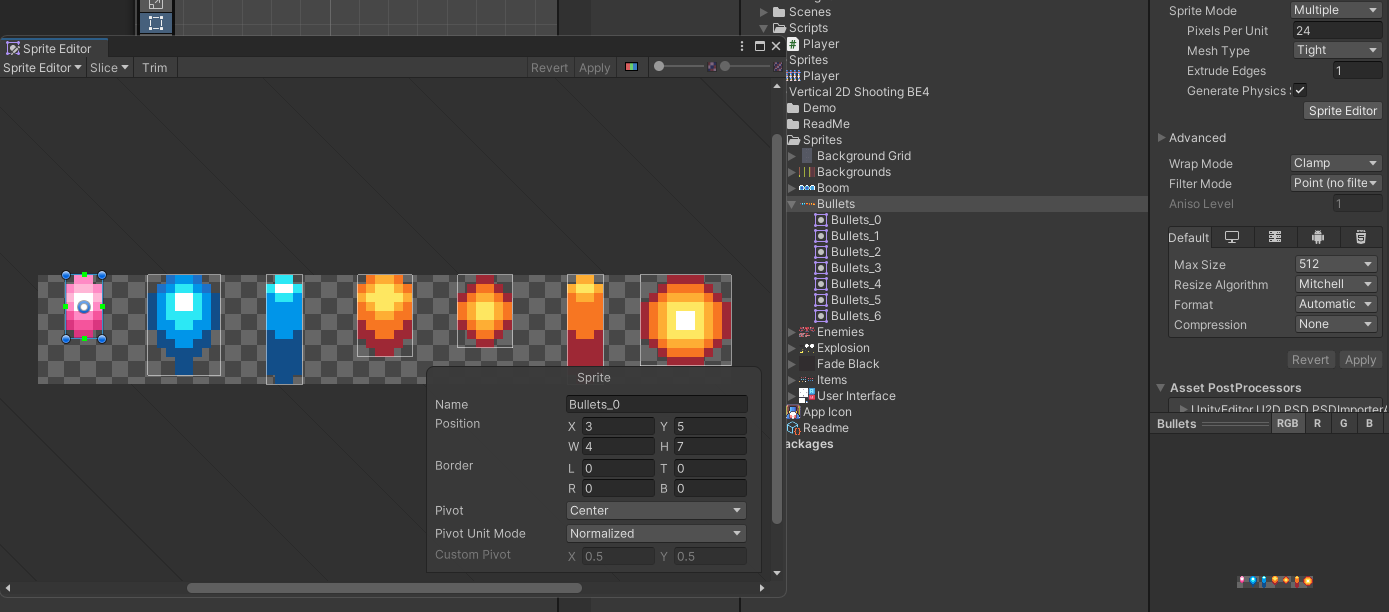
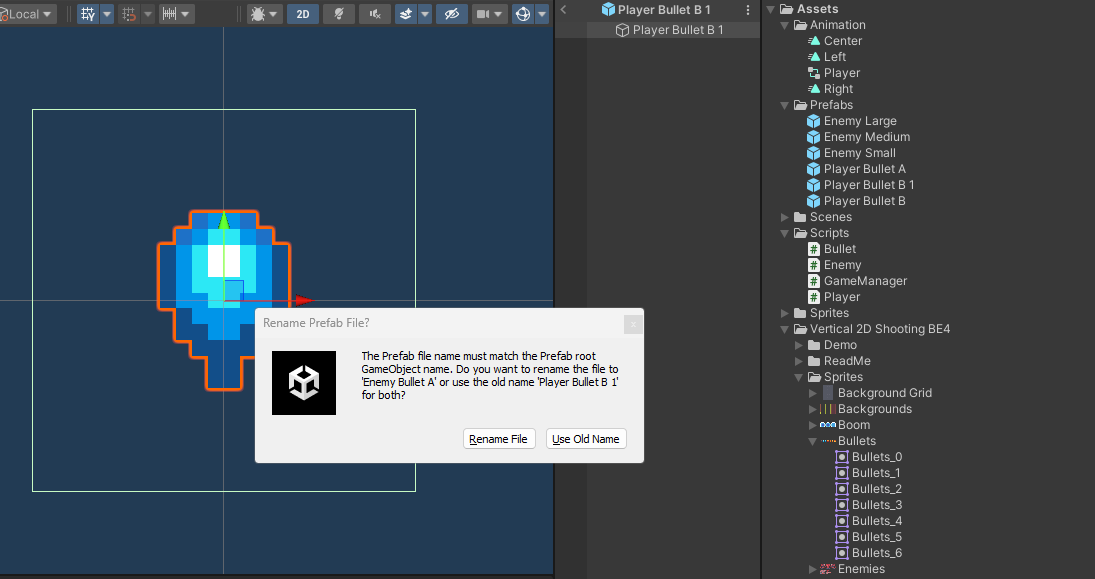
이제 적의 총알을 만들 것이다.
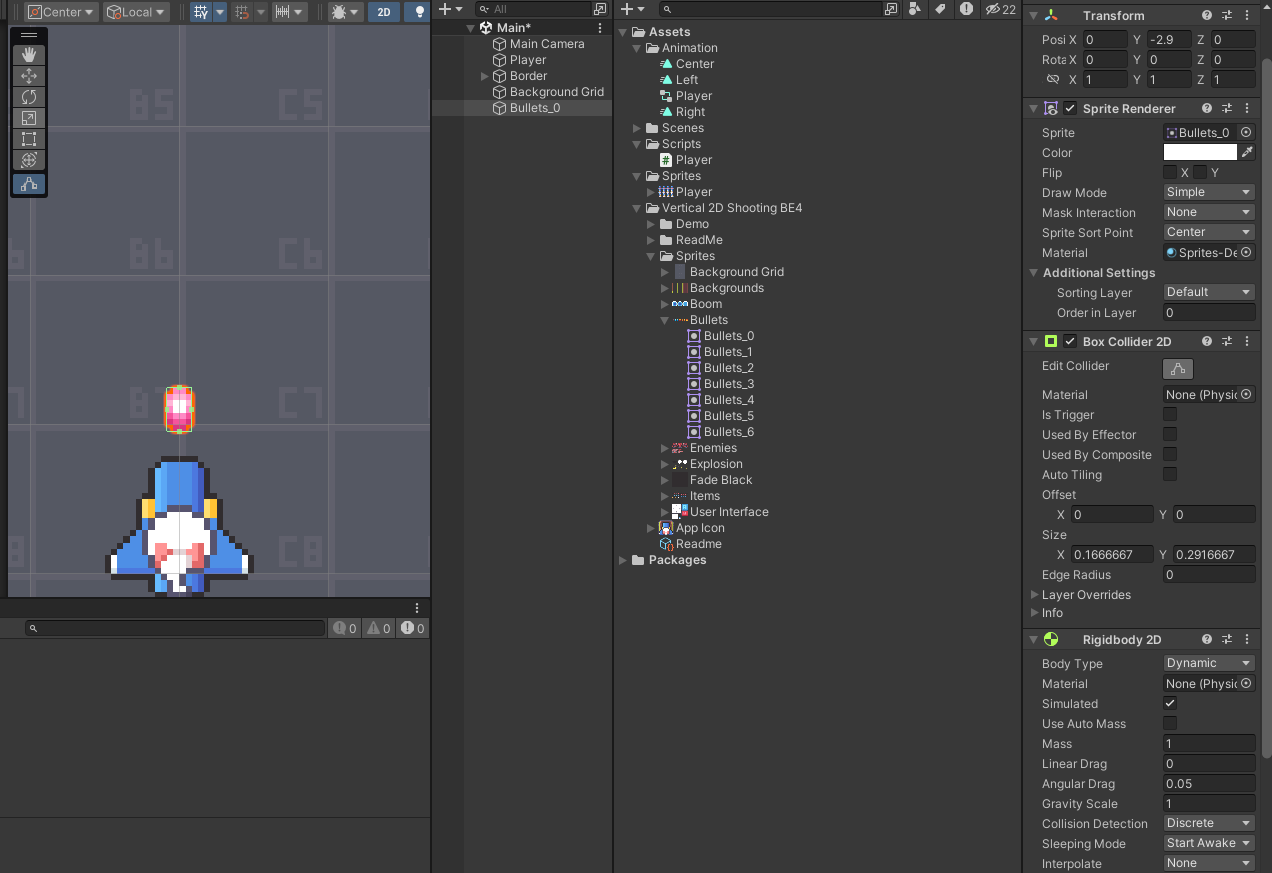
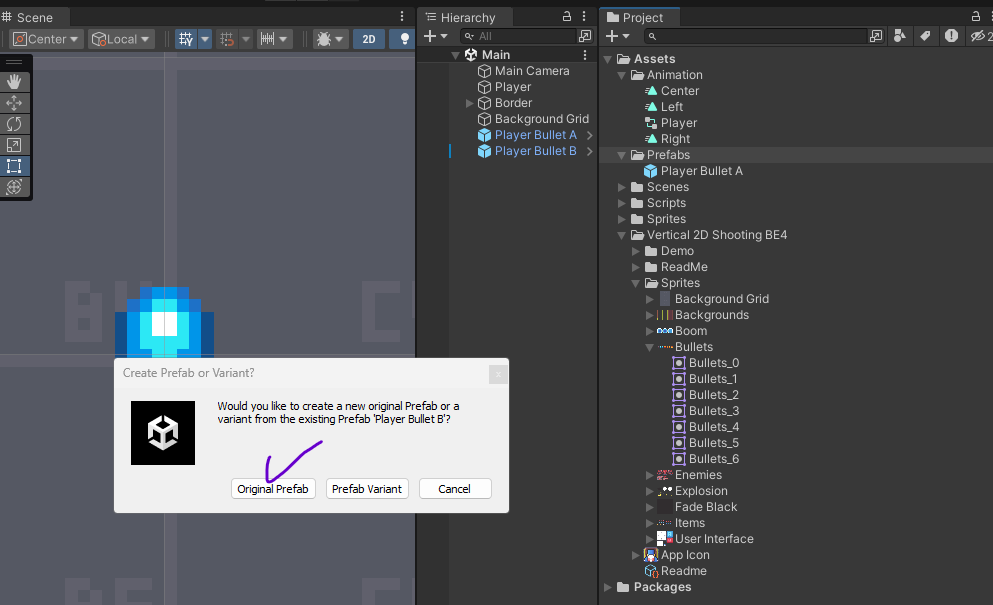
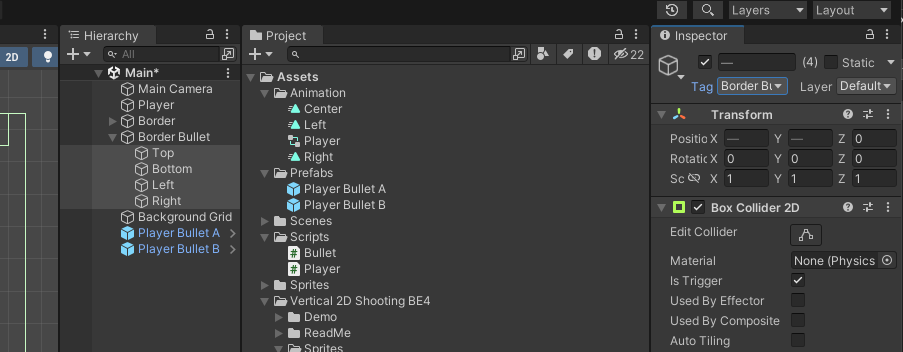
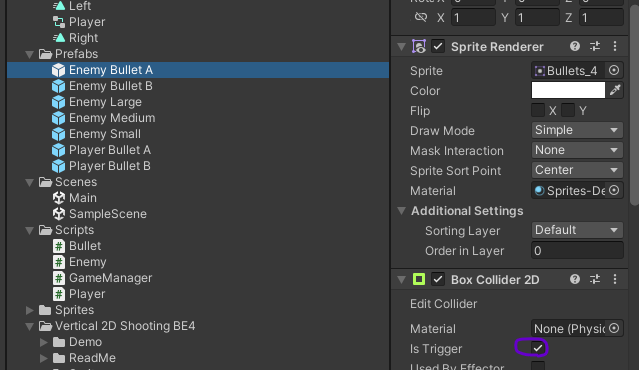
기존의 불렛b를 복사한후 프리팹모드에 들어가서 이름을 바꾸고 저장
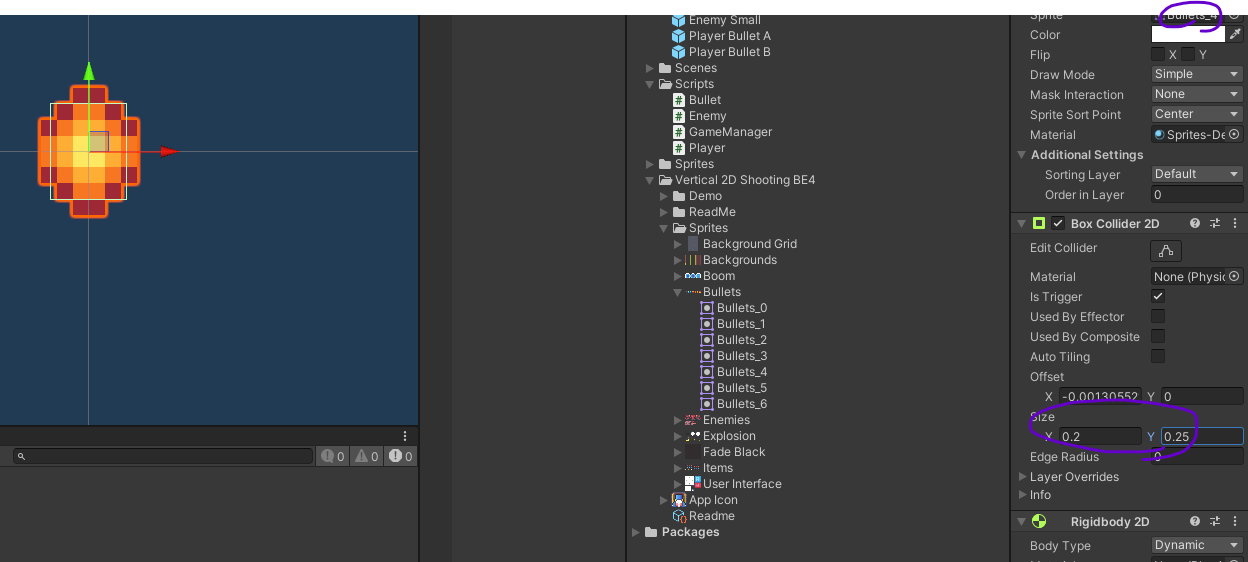
스프라이트 변경후 박스콜라이더 크기 재설정
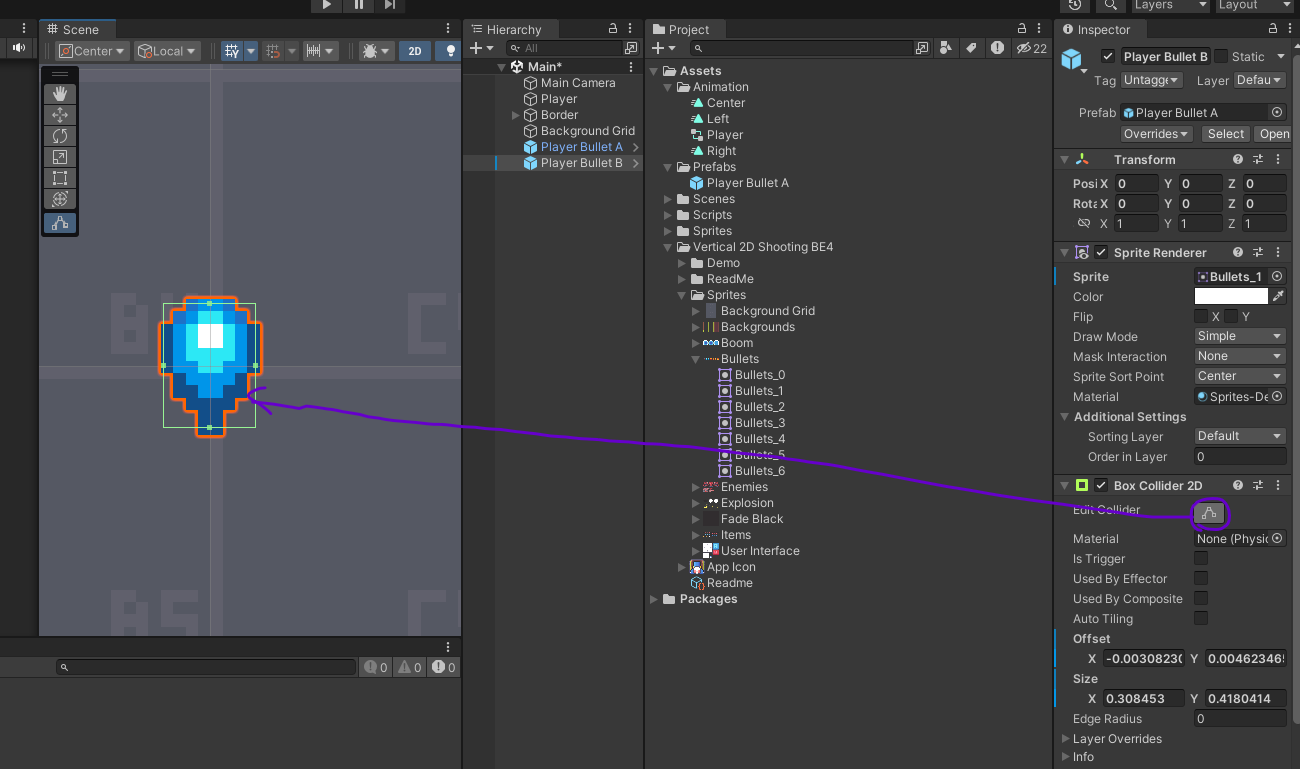
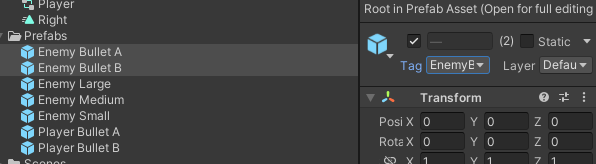
하나더 만들어준 후 태그 달기
플레이어에 있는 코드를 가져와서 부착
네임은 오브젝트네임 자체에 들어가 있으므로 이름 변경
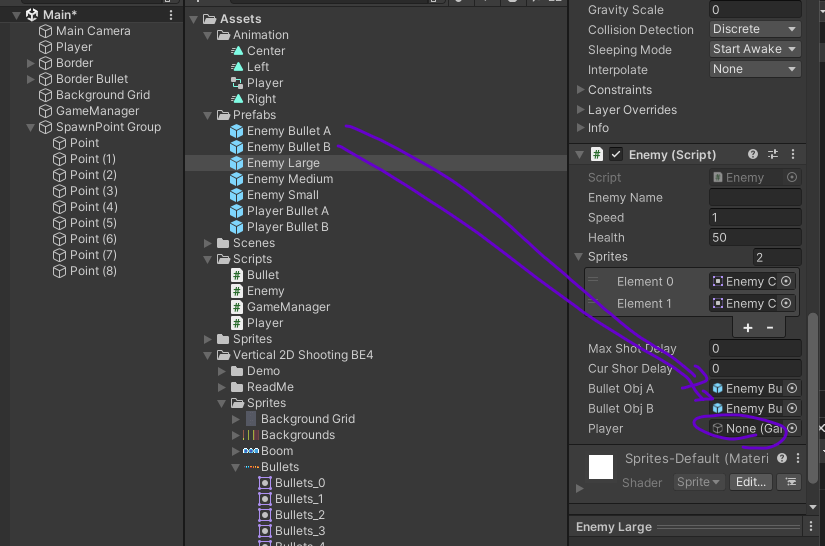
적이 생성될때 플레이어를 알아야한다.
적 비행기 생성 직후 플레이어 변수를 넘겨준다.
목표물 방향 = 목표물위치 - 자신의 위치
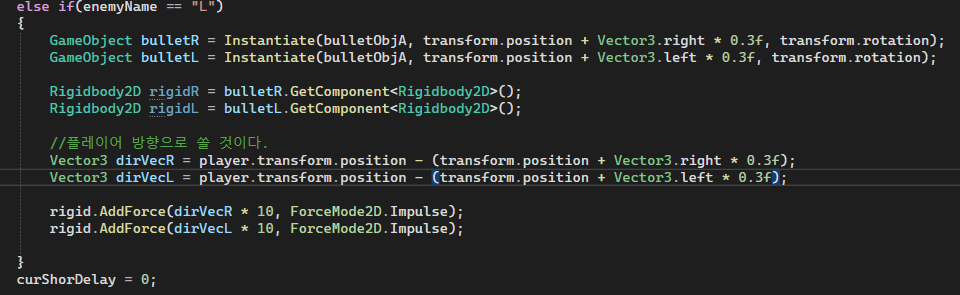
큰 적은 두발을 쏜다.
플레이어는 인스턴스화가 되어있지 않기에 할당X
if문에 총알을 발사할 이름을 넣었기 때문에 이름을 할당

적들의 총알이 너무 빠르므로 속도를 조절

플레이어의 온트리거에 추가

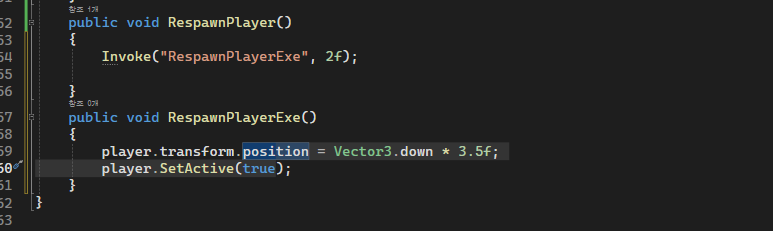
게임매니저가 플레이러를 리스폰 시킬수 있다.

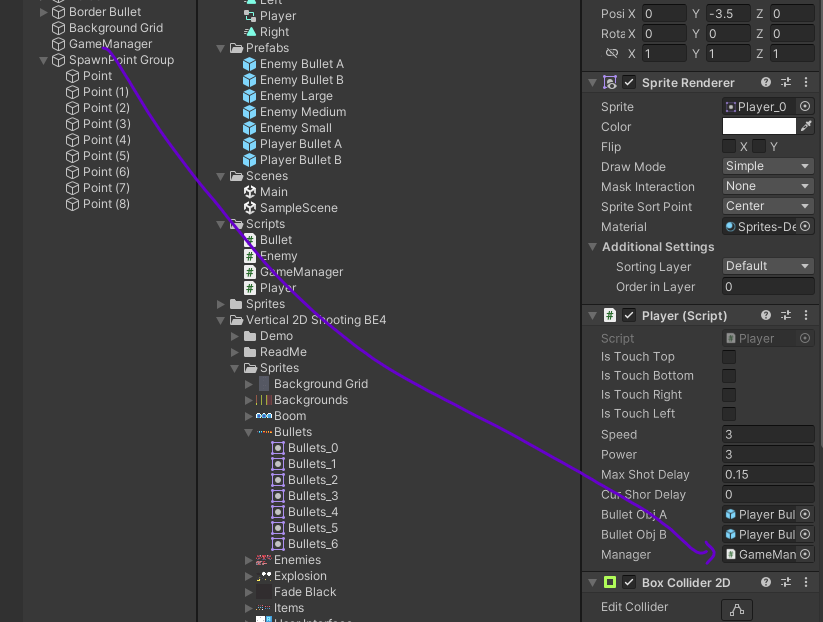
플레이어도 게임매니저를 알아야한다.
public GameManager manager;
2초 후에 플레이어가 부활하게 할 것이다.
플레이어 스크립트에 리스폰 추가

using System.Collections;
using System.Collections.Generic;
using System.Net.Http.Headers;
using UnityEngine;
public class Player : MonoBehaviour
{
public bool isTouchTop;
public bool isTouchBottom;
public bool isTouchRight;
public bool isTouchLeft;
private Animator anim;
public float speed;
public float power;
public float maxShotDelay; //실제 딜레이
public float curShorDelay; //한발 쏜 후 딜레이
public GameObject bulletObjA;
public GameObject bulletObjB;
public GameManager manager;
private void Awake()
{
anim = GetComponent<Animator>();
}
void Move()
{
float h = Input.GetAxisRaw("Horizontal");
if ((isTouchRight && h == 1) || (isTouchLeft && h == -1))
h = 0;
float v = Input.GetAxisRaw("Vertical");
if ((isTouchTop && v == 1) || (isTouchBottom && v == -1))
v = 0;
Vector3 curPos = this.transform.position;
Vector3 nextPos = new Vector3(h, v, 0) * speed * Time.deltaTime;
transform.position = curPos + nextPos;
if (Input.GetButtonDown("Horizontal") ||
Input.GetButtonDown("Vertical"))
{
anim.SetInteger("Input", (int)h);
}
}
private void Update()
{
Move();
Fire();
Reload();
}
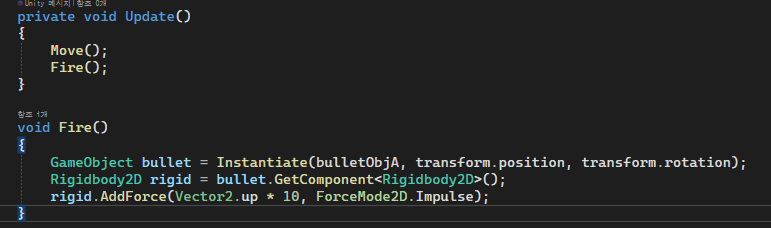
void Fire()
{
if (!Input.GetButton("Fire1"))
return;
if (curShorDelay < maxShotDelay)
return;
switch (power)
{
case 1://Power One
GameObject bullet = Instantiate(bulletObjA, transform.position, transform.rotation);
Rigidbody2D rigid = bullet.GetComponent<Rigidbody2D>();
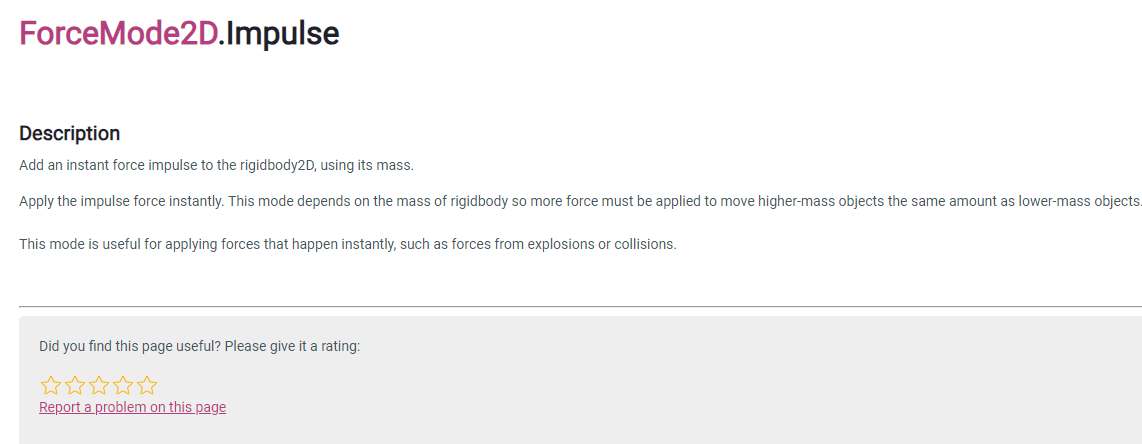
rigid.AddForce(Vector2.up * 10, ForceMode2D.Impulse);
break;
case 2:
GameObject bulletR = Instantiate(bulletObjA, transform.position + Vector3.right * 0.1f, transform.rotation);
GameObject bulletL = Instantiate(bulletObjA, transform.position + Vector3.left * 0.1f, transform.rotation);
Rigidbody2D rigidR = bulletR.GetComponent<Rigidbody2D>();
Rigidbody2D rigidL = bulletL.GetComponent<Rigidbody2D>();
rigidR.AddForce(Vector2.up * 10, ForceMode2D.Impulse);
rigidL.AddForce(Vector2.up * 10, ForceMode2D.Impulse);
break;
case 3:
GameObject bulletRR = Instantiate(bulletObjA, transform.position + Vector3.right * 0.3f, transform.rotation);
GameObject bulletCC = Instantiate(bulletObjB, transform.position, transform.rotation);
GameObject bulletLL = Instantiate(bulletObjA, transform.position + Vector3.left * 0.3f, transform.rotation);
Rigidbody2D rigidRR = bulletRR.GetComponent<Rigidbody2D>();
Rigidbody2D rigidCC = bulletCC.GetComponent<Rigidbody2D>();
Rigidbody2D rigidLL = bulletLL.GetComponent<Rigidbody2D>();
rigidRR.AddForce(Vector2.up * 10, ForceMode2D.Impulse);
rigidCC.AddForce(Vector2.up * 10, ForceMode2D.Impulse);
rigidLL.AddForce(Vector2.up * 10, ForceMode2D.Impulse);
break;
}
curShorDelay = 0;
}
void Reload()
{
curShorDelay += Time.deltaTime;
}
private void OnTriggerEnter2D(Collider2D collision)
{
if(collision.gameObject.tag == "Border")
{
switch(collision.gameObject.name)
{
case "Top":
isTouchTop = true;
break;
case "Bottom":
isTouchBottom = true;
break;
case "Right":
isTouchRight = true;
break;
case "Left":
isTouchLeft = true;
break;
}
}
else if(collision.gameObject.tag == "Enemy" || collision.gameObject.tag == "EnemyBullet")
{
manager.RespawnPlayer();
gameObject.SetActive(false);
}
}
private void OnTriggerExit2D(Collider2D collision)
{
switch (collision.gameObject.name)
{
case "Top":
isTouchTop = false;
break;
case "Bottom":
isTouchBottom = false;
break;
case "Right":
isTouchRight = false;
break;
case "Left":
isTouchLeft = false;
break;
}
}
}
using System.Collections;
using System.Collections.Generic;
using UnityEngine;

public class Bullet : MonoBehaviour
{
    public int dmg;
    private void OnTriggerEnter2D(Collider2D collision)
    {
        if (collision.gameObject.tag == "BorderBullet")
        Destroy(gameObject); //모노비헤이어에 들어 있는 자체 함수 => 매개변수 오브젝트를 삭제하는 함수
    }
}
using System.Collections;
using System.Collections.Generic;
using System.ComponentModel.Design;
using UnityEngine;
public class Enemy : MonoBehaviour
{
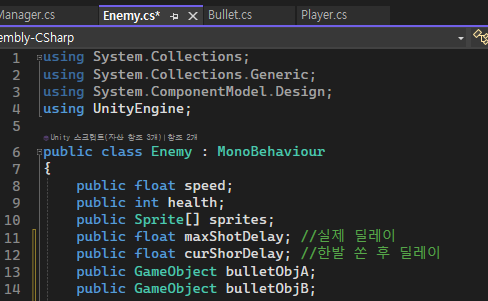
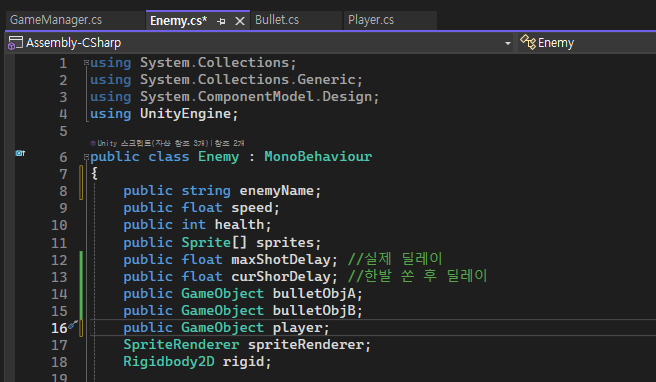
public string enemyName;
public float speed;
public int health;
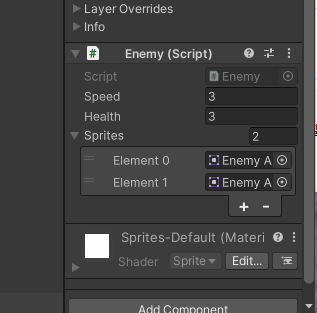
public Sprite[] sprites;
public float maxShotDelay; //실제 딜레이
public float curShorDelay; //한발 쏜 후 딜레이
public GameObject bulletObjA;
public GameObject bulletObjB;
public GameObject player;
SpriteRenderer spriteRenderer;
Rigidbody2D rigid;
private void Awake()
{
spriteRenderer = GetComponent<SpriteRenderer>();
rigid = GetComponent<Rigidbody2D>();
rigid.velocity = Vector2.down * speed;
}
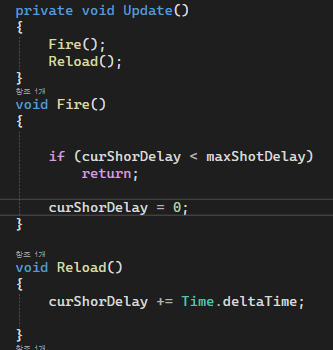
private void Update()
{
Fire();
Reload();
}
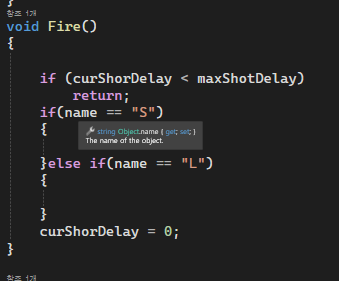
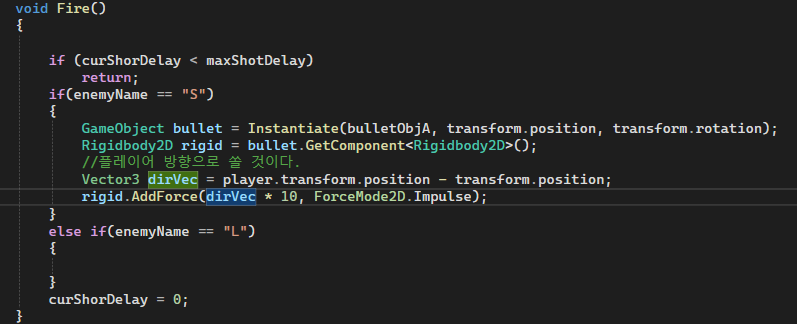
void Fire()
{
if (curShorDelay < maxShotDelay)
return;
if (enemyName == "S")
{
GameObject bullet = Instantiate(bulletObjA, transform.position, transform.rotation);
Rigidbody2D rigid = bullet.GetComponent<Rigidbody2D>();
Vector3 dirVec = player.transform.position - transform.position;
rigid.AddForce(dirVec.normalized * 3, ForceMode2D.Impulse); // 방향 벡터를 정규화하여 힘을 가하는 부분 수정
}
else if (enemyName == "L")
{
GameObject bulletR = Instantiate(bulletObjB, transform.position + Vector3.right * 0.3f, transform.rotation);
GameObject bulletL = Instantiate(bulletObjB, transform.position + Vector3.left * 0.3f, transform.rotation);
Rigidbody2D rigidR = bulletR.GetComponent<Rigidbody2D>();
Rigidbody2D rigidL = bulletL.GetComponent<Rigidbody2D>();
Vector3 dirVecR = player.transform.position - (transform.position + Vector3.right * 0.3f);
Vector3 dirVecL = player.transform.position - (transform.position + Vector3.left * 0.3f);
rigidR.AddForce(dirVecR.normalized * 4, ForceMode2D.Impulse); // 방향 벡터를 정규화하여 힘을 가하는 부분 수정
rigidL.AddForce(dirVecL.normalized * 4, ForceMode2D.Impulse); // 방향 벡터를 정규화하여 힘을 가하는 부분 수정
}
curShorDelay = 0; // 발사 후 딜레이 초기화는 발사 이후에 처리되도록 이동
}
void Reload()
{
curShorDelay += Time.deltaTime;
}
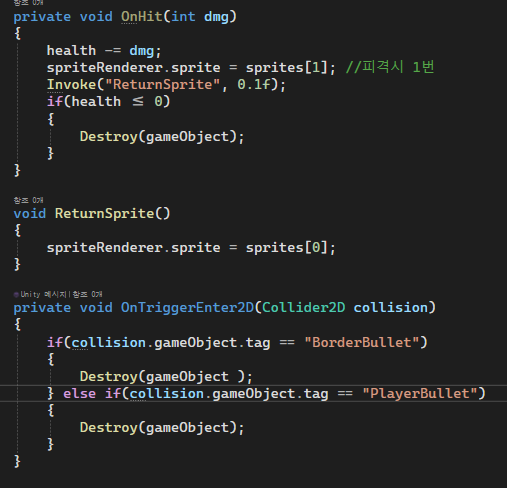
private void OnHit(int dmg)
{
health -= dmg;
spriteRenderer.sprite = sprites[1]; //피격시 1번
Invoke("ReturnSprite", 0.1f);
if(health <= 0)
{
Destroy(gameObject);
}
}
void ReturnSprite()
{
spriteRenderer.sprite = sprites[0];
}
private void OnTriggerEnter2D(Collider2D collision)
{
if(collision.gameObject.tag == "BorderBullet")
{
Destroy(gameObject );
}
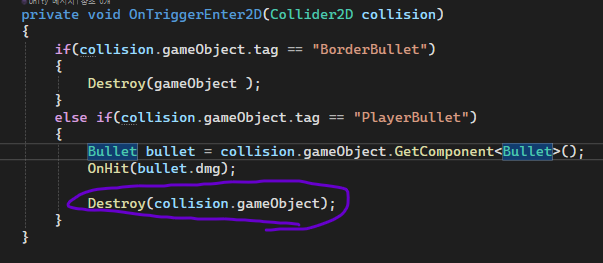
else if(collision.gameObject.tag == "PlayerBullet")
{
Bullet bullet = collision.gameObject.GetComponent<Bullet>();
OnHit(bullet.dmg);
Destroy(collision.gameObject);
}
}
}
using System.Collections;
using System.Collections.Generic;
using UnityEngine;
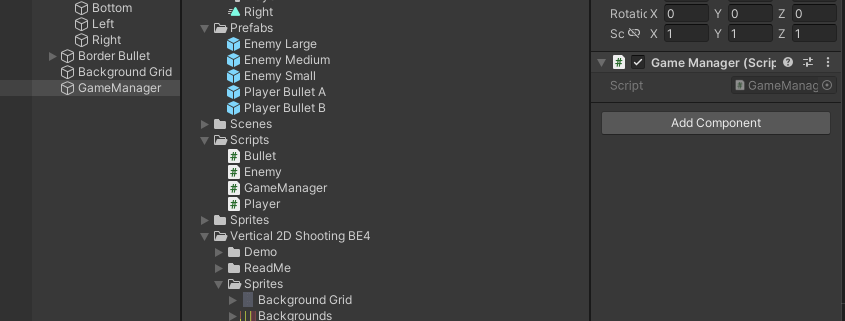
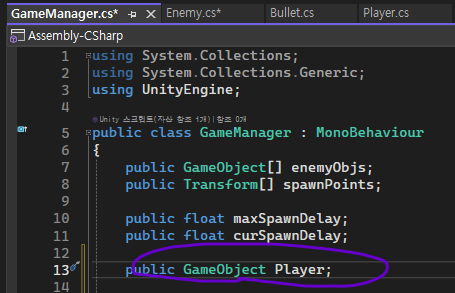
public class GameManager : MonoBehaviour
{
public GameObject[] enemyObjs;
public Transform[] spawnPoints;
public float maxSpawnDelay;
public float curSpawnDelay;
public GameObject player;
private void Update()
{
curSpawnDelay += Time.deltaTime;
if(curSpawnDelay > maxSpawnDelay)
{
SpawnEnemy();
maxSpawnDelay = Random.Range(0.5f, 3f);
curSpawnDelay = 0;
}
}
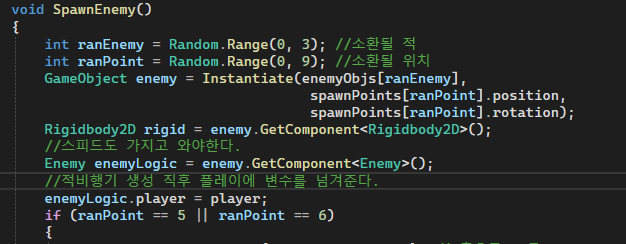
void SpawnEnemy()
{
int ranEnemy = Random.Range(0, 3); //소환될 적
int ranPoint = Random.Range(0, 9); //소환될 위치
GameObject enemy = Instantiate(enemyObjs[ranEnemy],
spawnPoints[ranPoint].position,
spawnPoints[ranPoint].rotation);
Rigidbody2D rigid = enemy.GetComponent<Rigidbody2D>();
//스피드도 가지고 와야한다.
Enemy enemyLogic = enemy.GetComponent<Enemy>();
//적비행기 생성 직후 플레이에 변수를 넘겨준다.
enemyLogic.player = player;
if (ranPoint == 5 || ranPoint == 6)
{
enemy.transform.Rotate(Vector3.back * 90); //z축으로 90도
rigid.velocity = new Vector2(enemyLogic.speed * (-1), -1);
}else if(ranPoint == 7 || ranPoint == 8)
{
enemy.transform.Rotate(Vector3.forward * 90); //z축으로 90도
rigid.velocity = new Vector2(enemyLogic.speed, -1);
}
else
{
rigid.velocity = new Vector2(0, enemyLogic.speed * (-1));
}
}
public void RespawnPlayer()
{
Invoke("RespawnPlayerExe", 2f);
}
private void RespawnPlayerExe()
{
player.transform.position = Vector3.down * 3.5f;
player.SetActive(true);
}
}'산대특' 카테고리의 다른 글
| 2D Airplane - 원근감있는 무한 배경 만들 (0) | 2024.03.17 |
|---|---|
| 2D Airplane - 5 (1) | 2024.03.14 |
| 2D Airplane - 3 (0) | 2024.03.12 |
| 2D Airplane - 2 (0) | 2024.03.10 |
| 2D Airplane - 1 (0) | 2024.03.09 |